-
Annotations can be edited in a variety of ways. In addition to a simple correction to, for example, a typing error, you can also:
- reply to annotations to create a threaded conversation.
- add images to annotations.
- add hyperlinks to annotations.
- delete annotations.
These edits apply to all forms of annotation assignments.
-
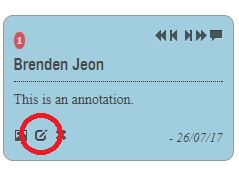
Clicking this button will open your annotation in a text box, allowing you to correct or expand the annotation.
Note: if your assignment requires you to reply to your own annotations, do not use this editing button to do so. Follow the steps to reply to an annotation below.
-
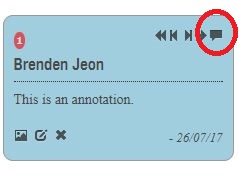
This will bring up a pop-up window, just as with the original annotation. Add your reply in the text box, and click 'OK'.
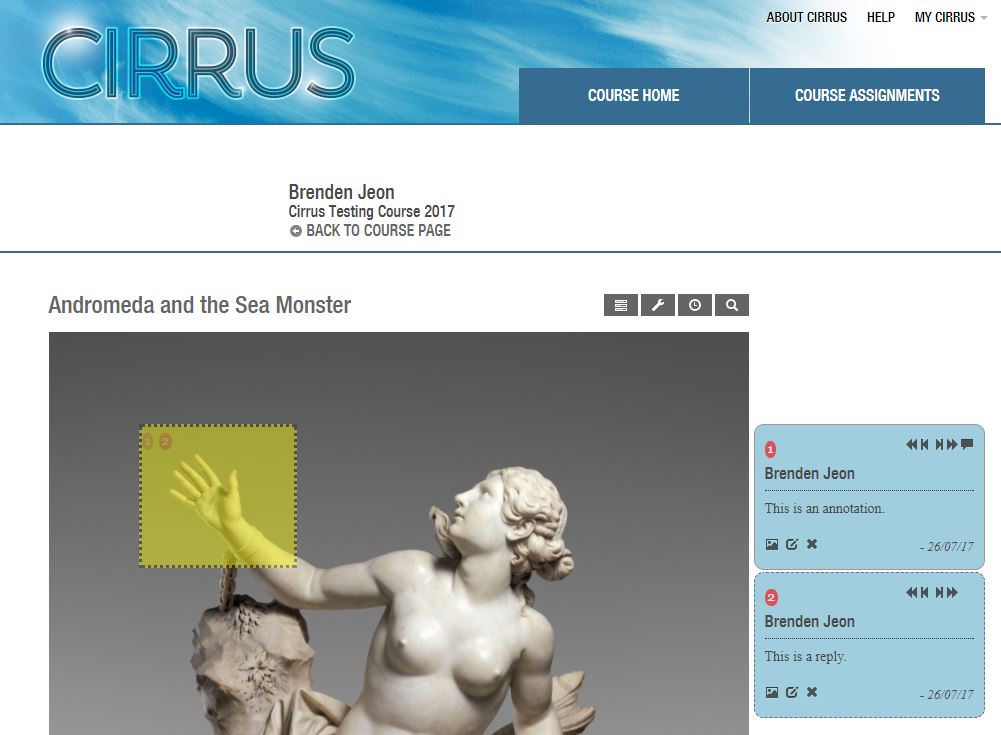
Your reply will appear directly below the original annotation:
-
You can reply to your own annotations (for example, in cumulative work where you are expected to complete the work in stages) or to other students' annotations (for example, in group work). Your tutor will also be able to reply to your annotations.
-
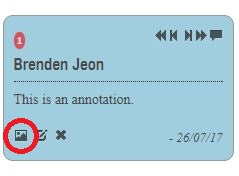
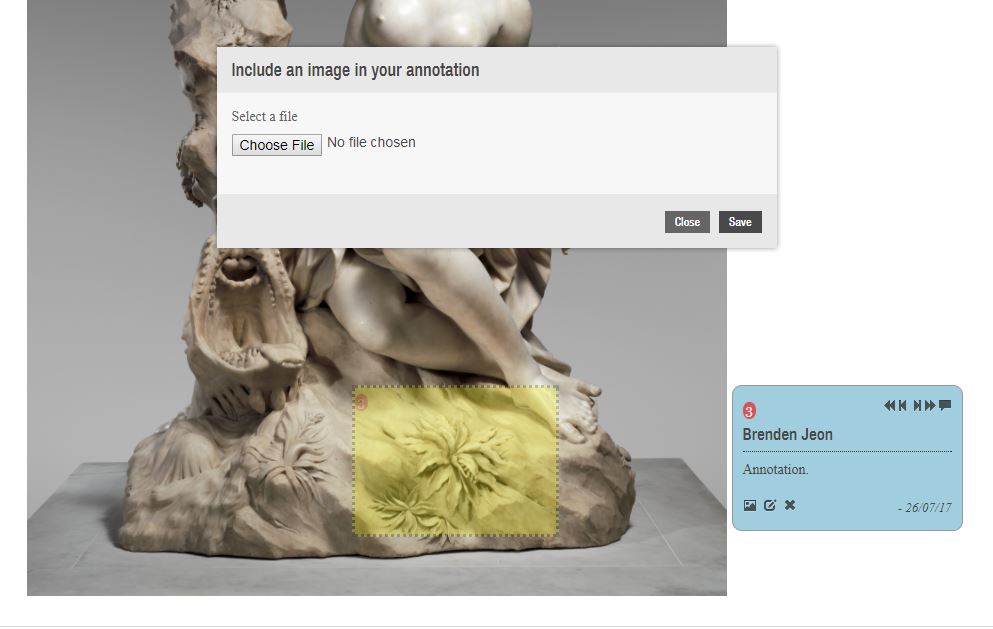
This will bring up a pop-up window asking you to browse for the image that you wish to add to the annotation:
-
Note: The image will need to be saved to your hard drive or an external device, such as a USB drive, before you can upload it.
Select the image file, and click 'Save'.
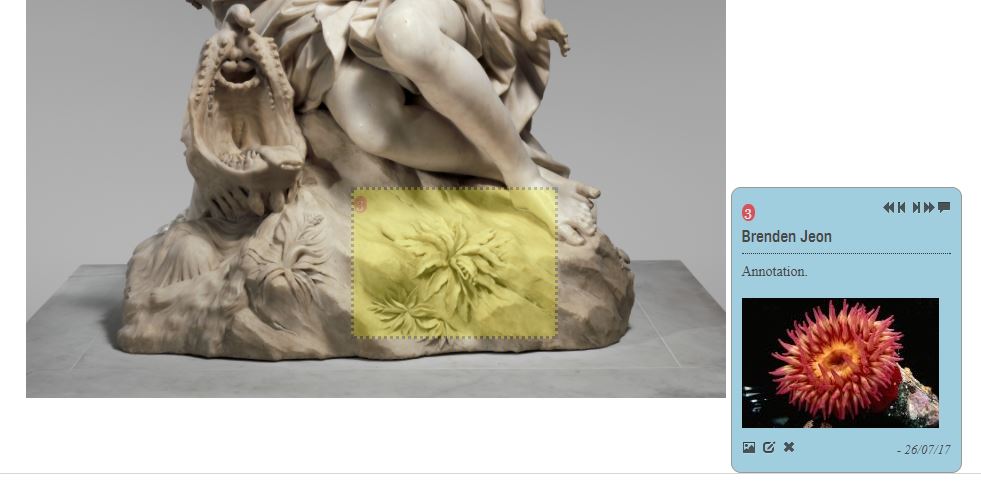
The image will appear in the annotation:
-
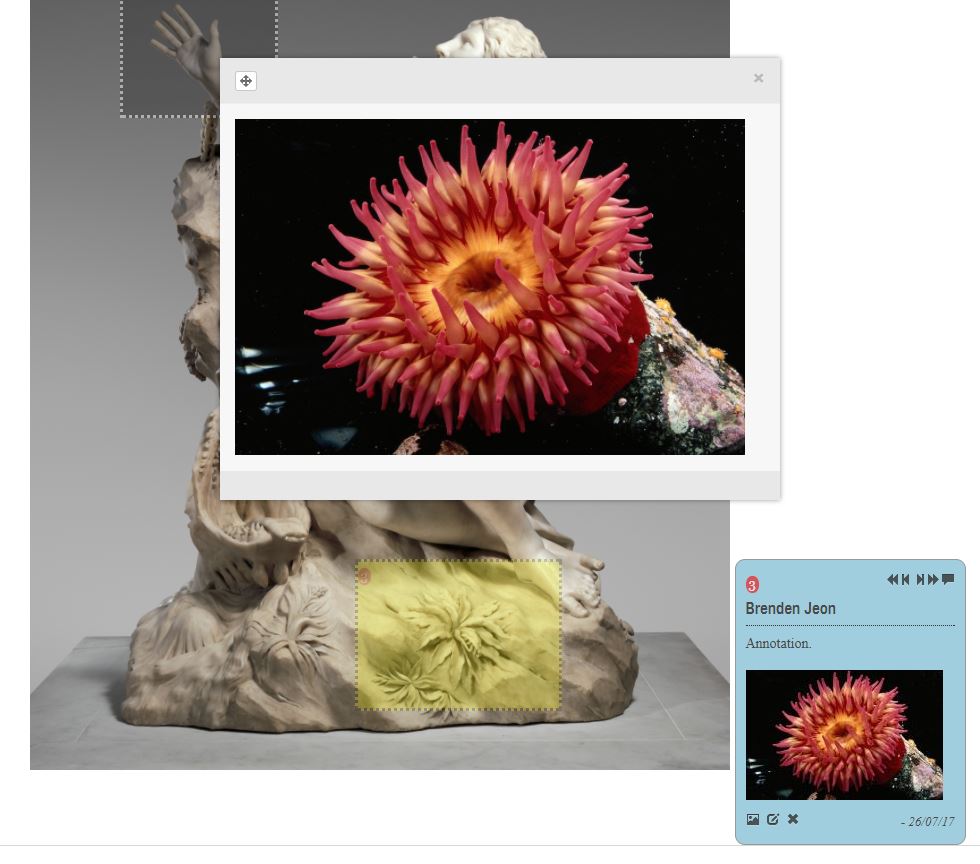
If you click on the image itself, you will be able to see a larger version.
-
Note: You can only add one image per annotation. If you wish to add multiple images, you can reply to the original annotation, and add images to the replies. This will create a threaded conversation.
-
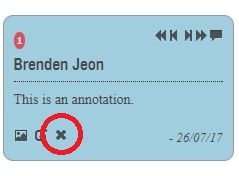
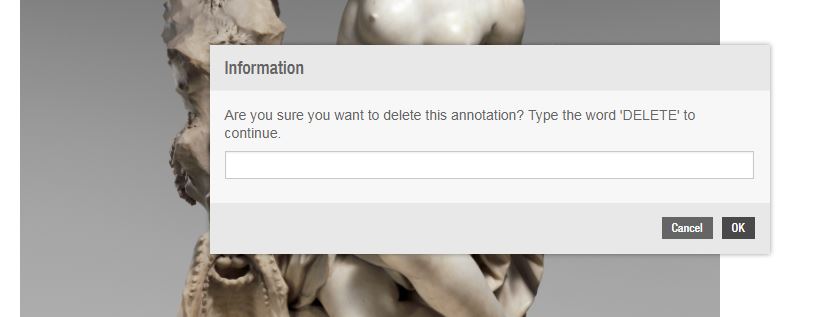
You will be asked to confirm that you wish to delete the annotation, so you won't be able to delete them accidentally.
-
Type 'DELETE' into the box (it is not case sensitive and does not need to be in all caps), and click OK to delete the annotation.
You might be interested in...
