Cirrus Student Manual
A Guide to Using the Cirrus System and to Writing in the Digital Environment
(Status : Public)
Coordinated by Cirrus
  • Audio Annotation: Where the Convenor Has Uploaded an Audio File

    (For instructions on annotating work by others in your tutorial group, see below.)

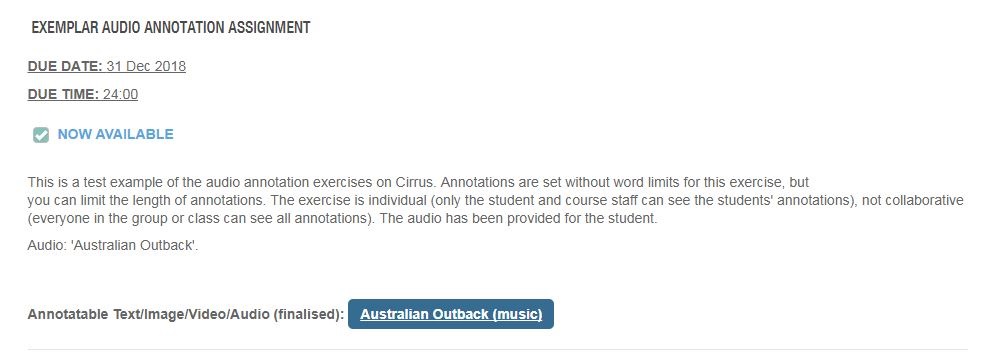
    When you are completing an annotation assignment where the course convenor has uploaded the audio for you to annotate, begin on the Assignments page, where you should see an assignment that looks like this:

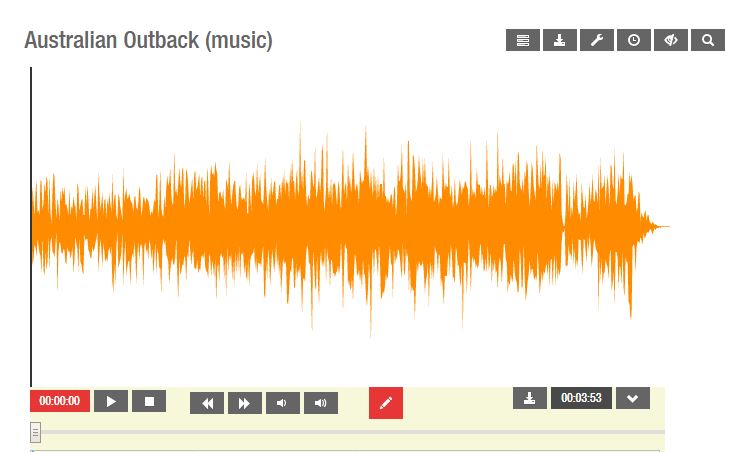
  • Click on the blue button (in this example, labelled 'Australian Outback (music)'), which will take you to the audio file:

  • Note: if you are annotating the work of others in your class, the process remains the same, except that you click on the button labelled 'See Peer Group Texts', and select an option from the list that appears.

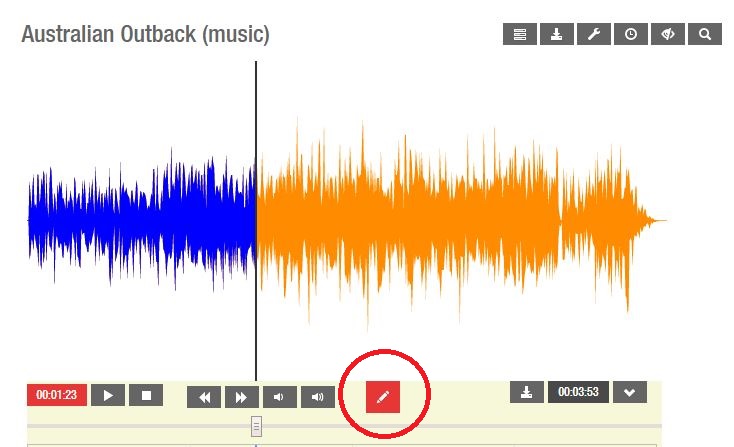
  • To annotate the audio file, begin playing it. When you see something you want to annotate, click the red button in the centre of the page:

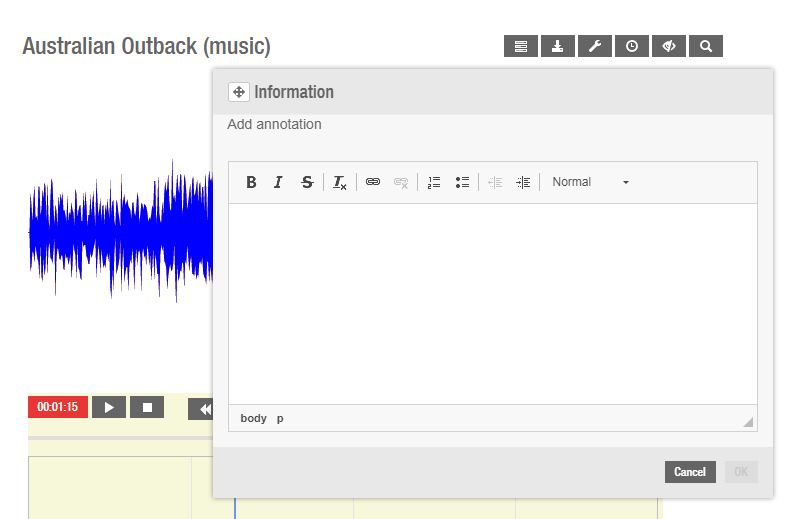
  • This will pause the audio and bring up a pop-up window into which you can type your annotation:

  • Type your annotation into the box. As you can see, there is a basic text editor that allows you to add hyperlinks, basic formatting (italics and bold), and use bullet points or numbered lists. If your course coordinator has imposed a word limit on the annotations, this will also appear in the pop-up box. For example, in the image above, you can see that annotations are limited to 50 words.

    Click OK to save your annotation. The audio file will continue to play.

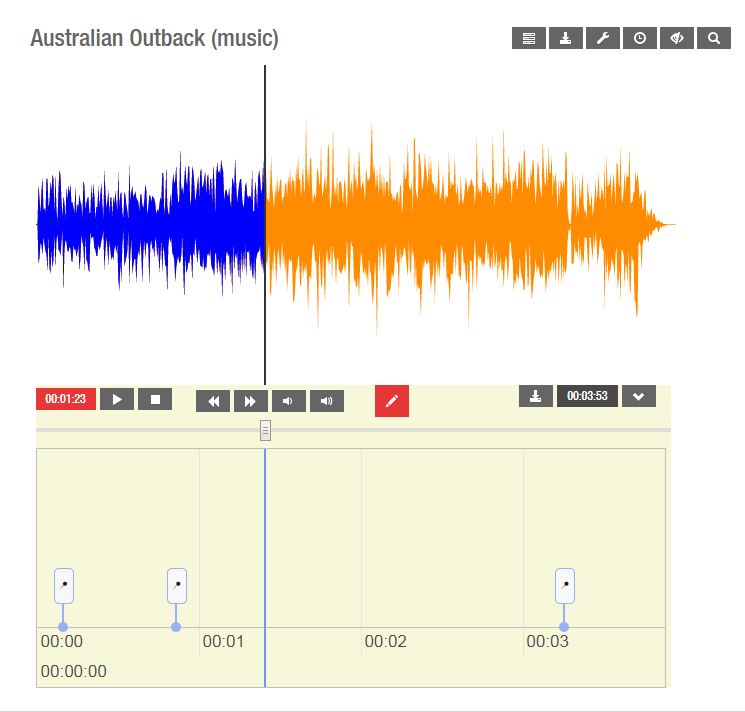
    Icons representing each annotation will appear in a box below the audio file. The annotations themselves will be visible to the right of the audio file when selected.
  • Annotations can be edited in a number of ways. To see the ways in which to edit annotations, see the Editing Annotations tab.

  • Audio Annotation : Where You Upload Your Own Audio File

You might be interested in...

X