-
Tile sets are one way of organising your exhibition. They create a variety of interactive 'tiles' on the page, that allow you to embed image slideshows, text, and lists of works or authors.
Tiles are a useful way of arranging content when you might otherwise end up with a very long, very complex exhibition. The tiles give readers a more more compact page to explore.
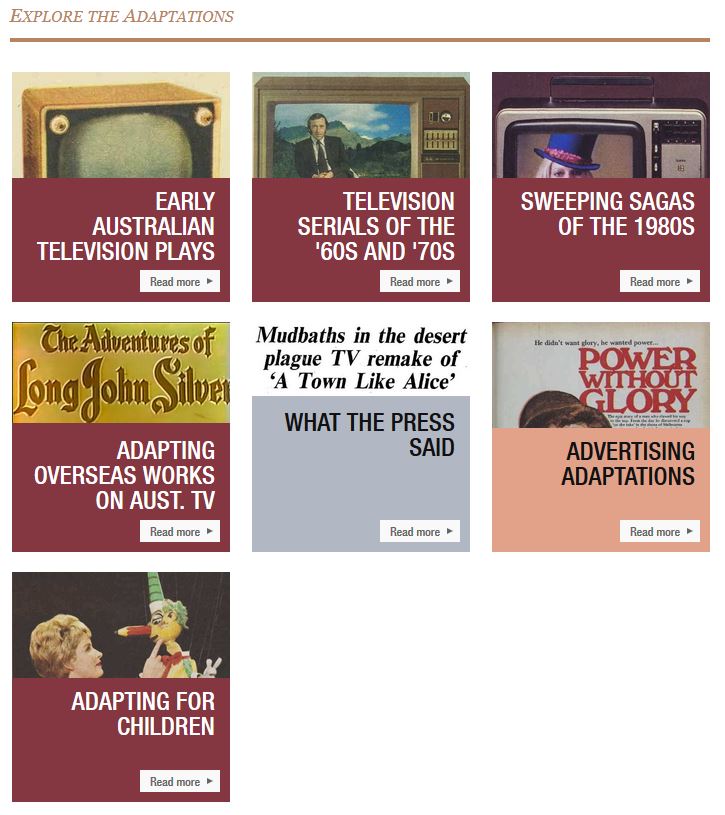
In the image below, for example, tiles are used to showcase different aspects of Australian television.
-
When using tiles, remember that they do disrupt the way in which readers experience your exhibition. Because they do not run top to bottom, the tiles encourage readers to skip around the page and sample sections–which can be an excellent tool.
If your exhibition would benefit from being experienced in a certain order, consider whether tiles would be the best option. It is also worth noting that the tiles are limited to their own specific functions: you cannot, for example, embed a map on one of the tiles. The tiles are best used in conjunction with other exhibition tools, rather than as the sole focus of your exhibition.
-
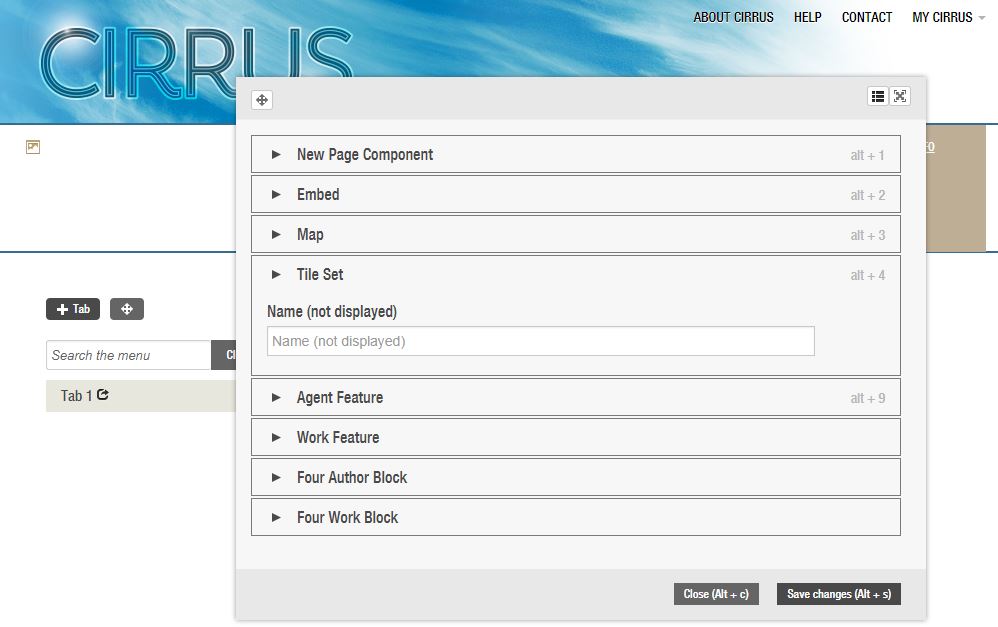
To add a tile set, make sure your work is in editing mode. This gives you an option for adding new page components.
Click on + Page Component and choose the Tile Set from the available options. You will be prompted for a name for the tile set: the name will not be displayed on your exhibition.
Add a name and click 'Save changes'.
-
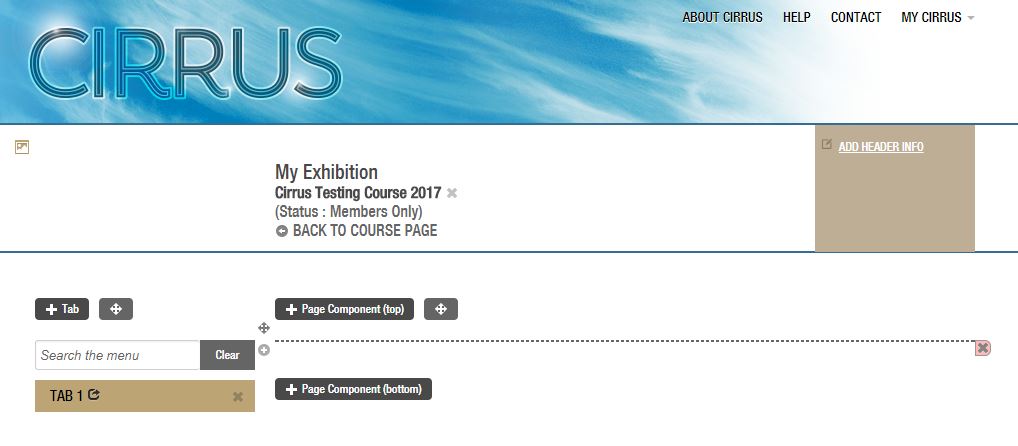
After you click 'Save changes', the basis for your tile set will appear in your exhibition as a single dotted line:
-
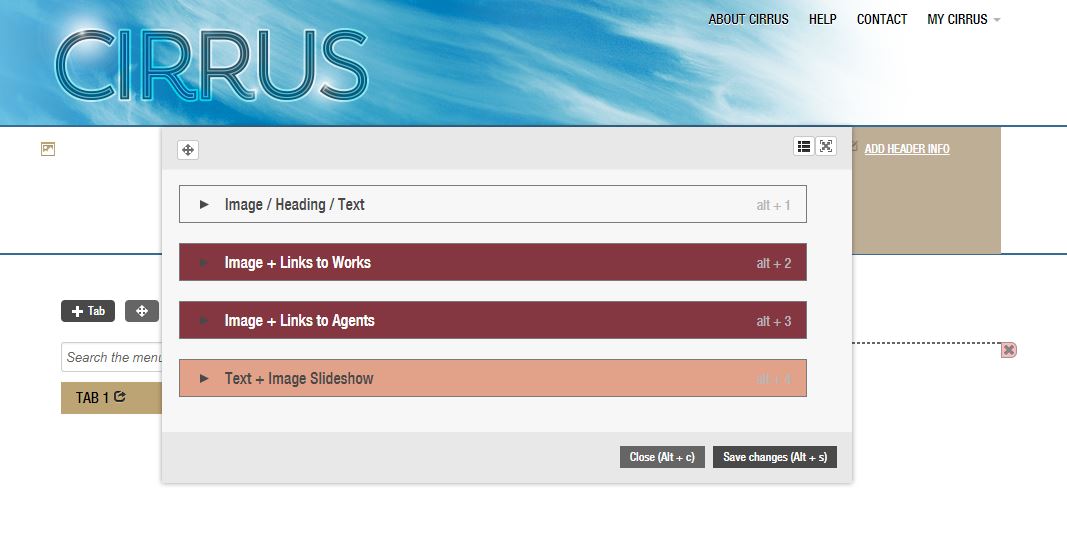
To begin adding tiles to the set, click on the small cross to the left of the dotted line. This will bring up the following pop-up window:
-
There are three types of tiles:
- a text-based tile (labelled Image/Heading/Text)
- list-based tiles (labelled Image + Links to Works and Image + Links to Agents)
- a slideshow tile (labelled Text + Image Slideshow)
The tile you use will depend on your purpose.
If you wish to embed text-based content, choose the first option. For example, this exhibition uses the text tiles (shown in grey) as a way of listing secondary sources.
If you wish to embed a list of works or agents drawn from the AustLit database, choose either the second option (works) or the third option (agents–authors and organisations). For example, this exhibition uses the maroon list tiles to create lists of television programs.
If you wish to embed a slideshow of images, choose the fourth option. For example, this exhibition uses the orange slideshow tile to display a series of advertisements.
-
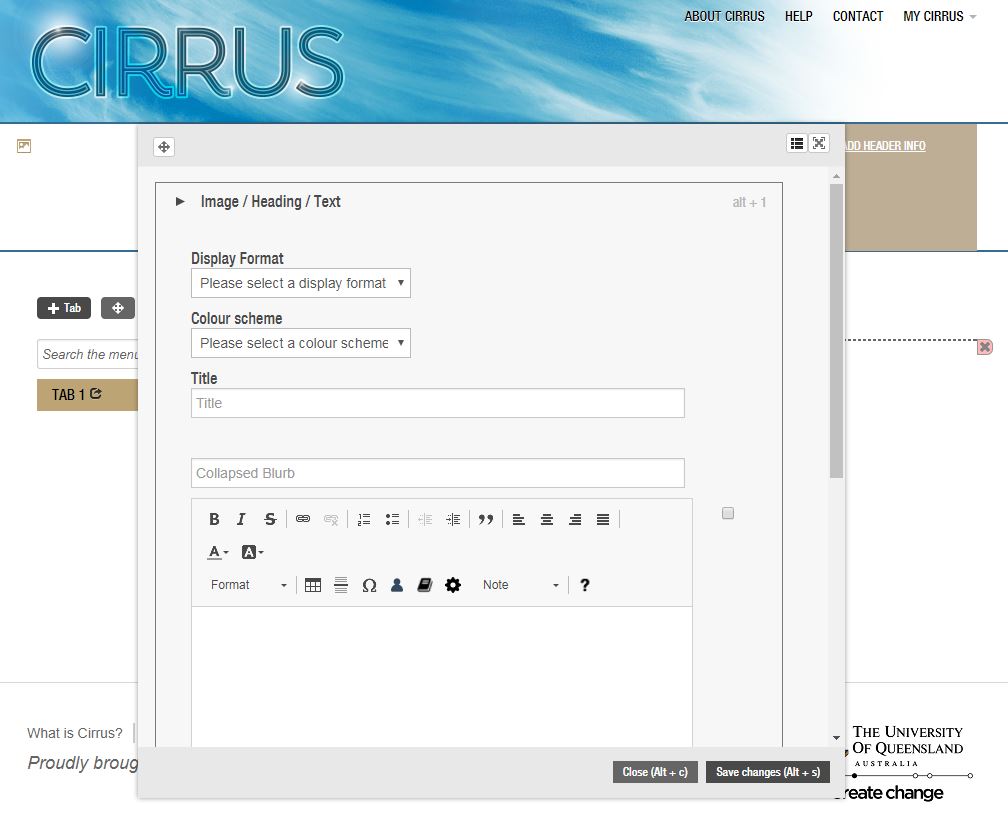
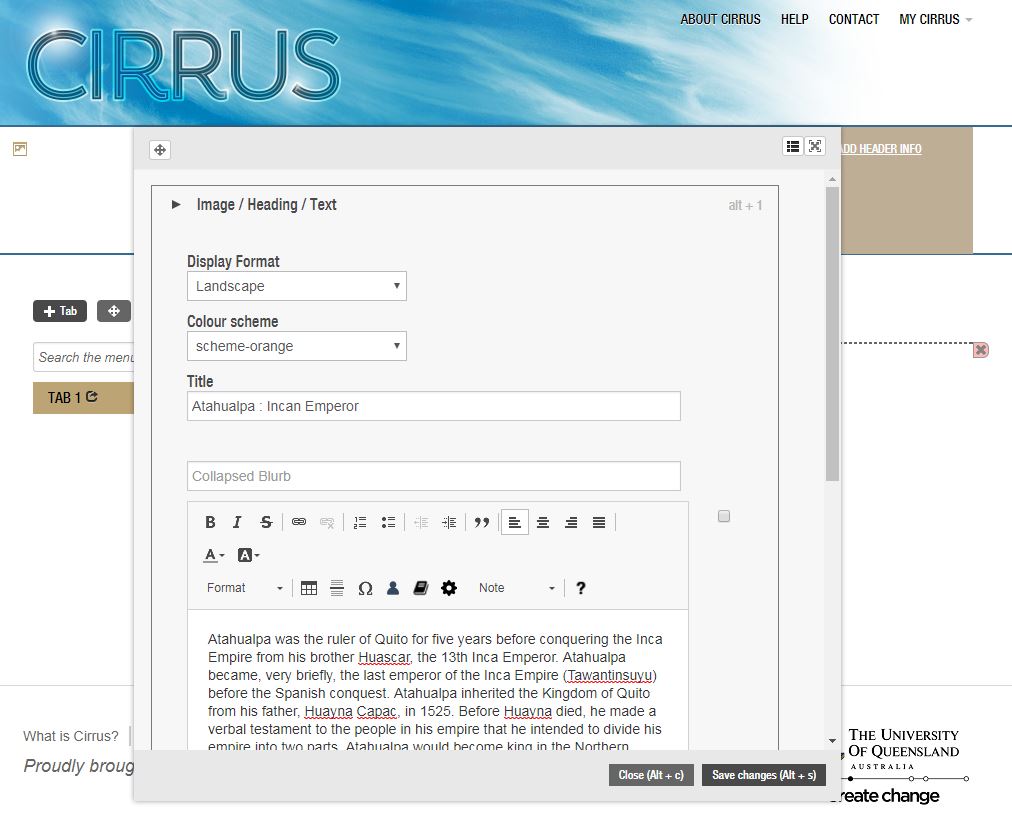
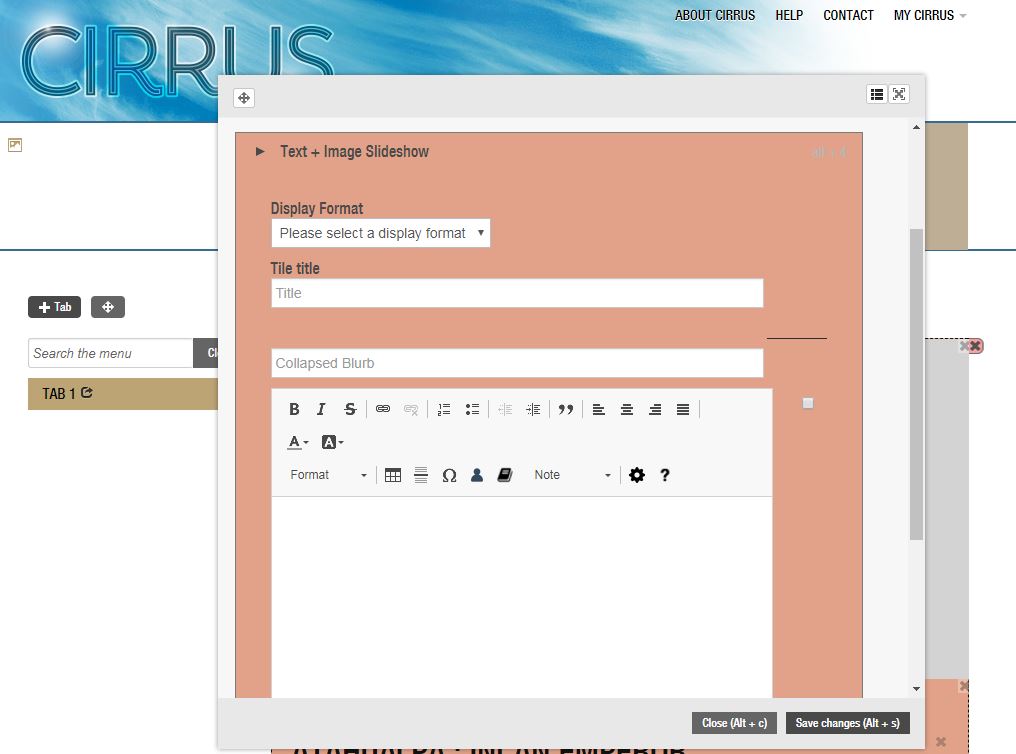
Choose the display format for the image at the top of the tile, and select the colour scheme for the tile background. The choices are limited, but allow you to customise your tile.
When choosing a title for your tile, keep it short and concise: if your title is too long, it will be obscured by the 'Read More' button.
The collapsed blurb is a short section of text that only appears when the tile is closed. It can be a useful way of guiding the reader to the tile's content.
Note: since you only have limited space on the tile, you will need to choose which aspects to include. You can have two options: for example, an image and a title, or a title and a collapsed blurb. But there is not room on the tile for an image, a title, and a collapsed blurb.
The text box at the bottom will take the main text, only visible when the tile is open.
Your tile should look somewhat like this, before you click 'Save changes':
-
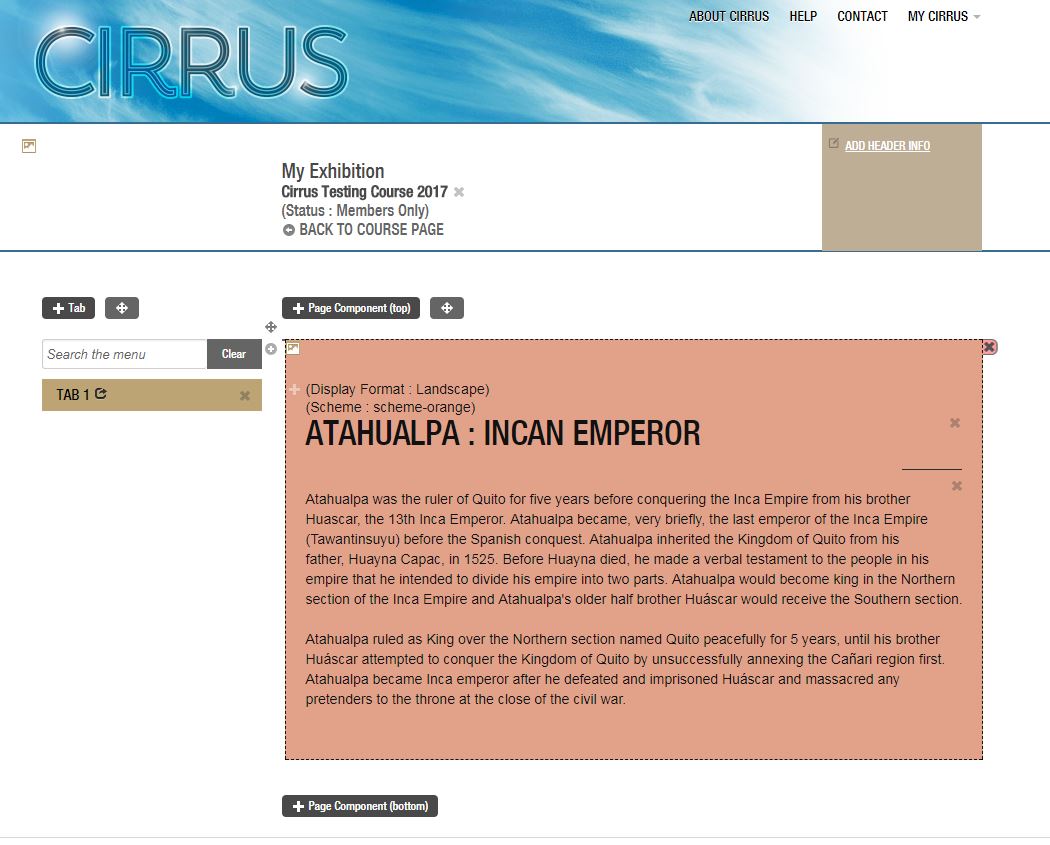
Once you click 'Save changes', the tile will look like this:
-
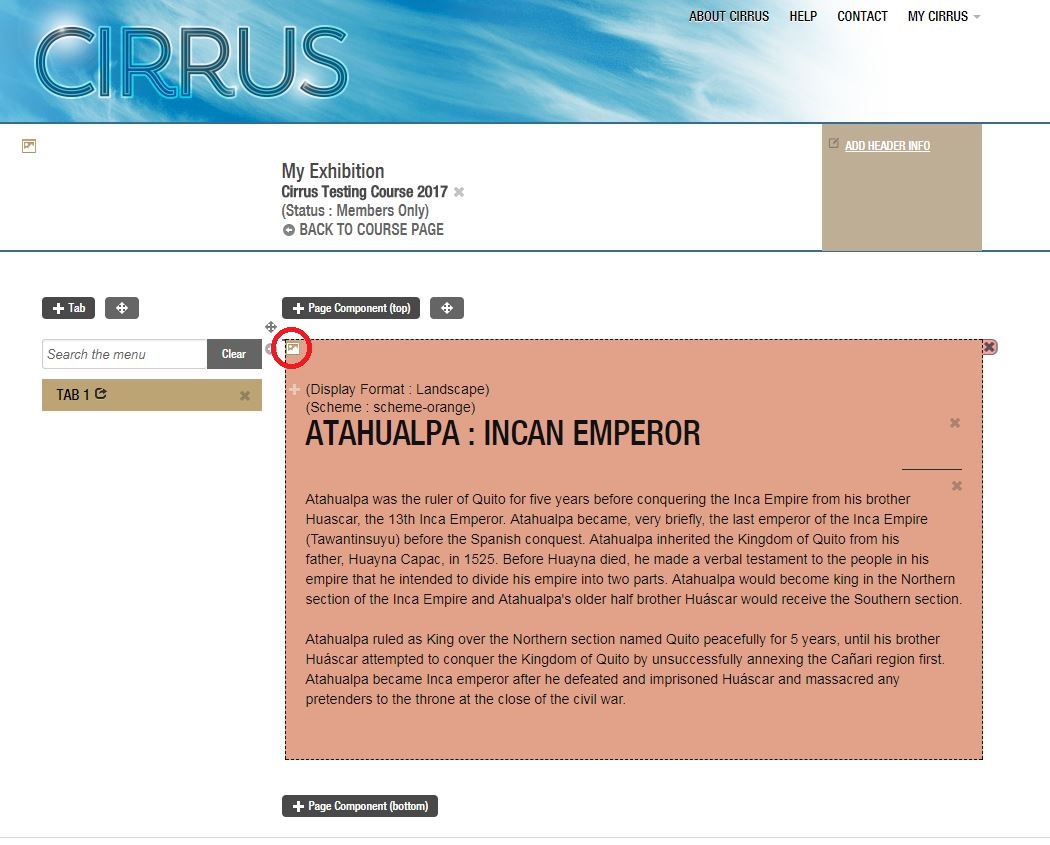
The final step is to add the header image, which we do via the small image icon in the top left-hand corner of the tile.
-
Click on the image icon, and use the browse function to select the image for the header. The image will need to have been saved to a hard drive or USB drive.
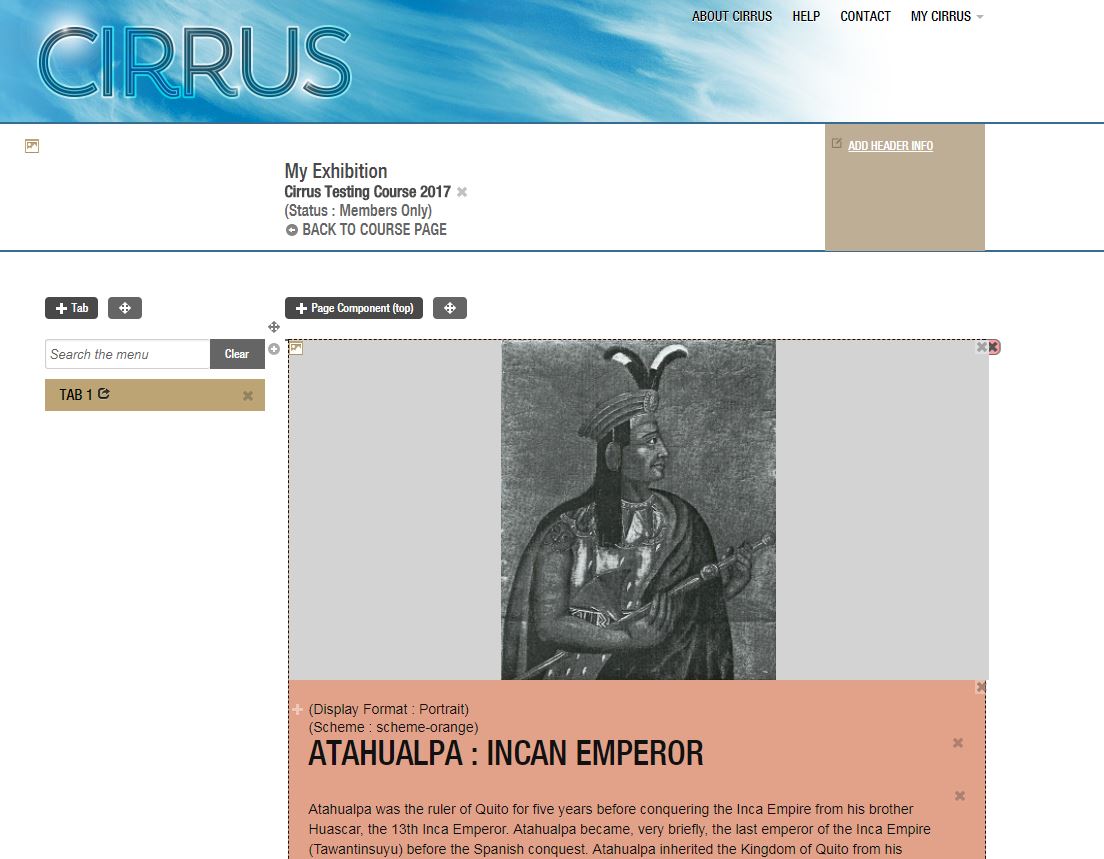
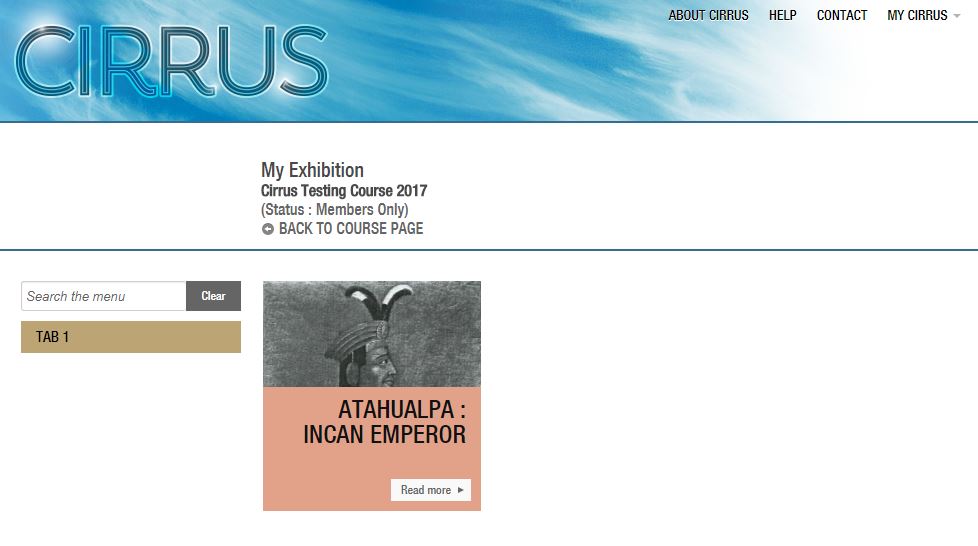
Once saved, the tile will look like this in (first) editing mode and (second) public mode:
-
To create a tile that contains a list of works, use the same + symbol at the top left-hand side of the tile set, and select either the second or third option from the pop-up window. For the example below, we have selected the second option, a list of works.
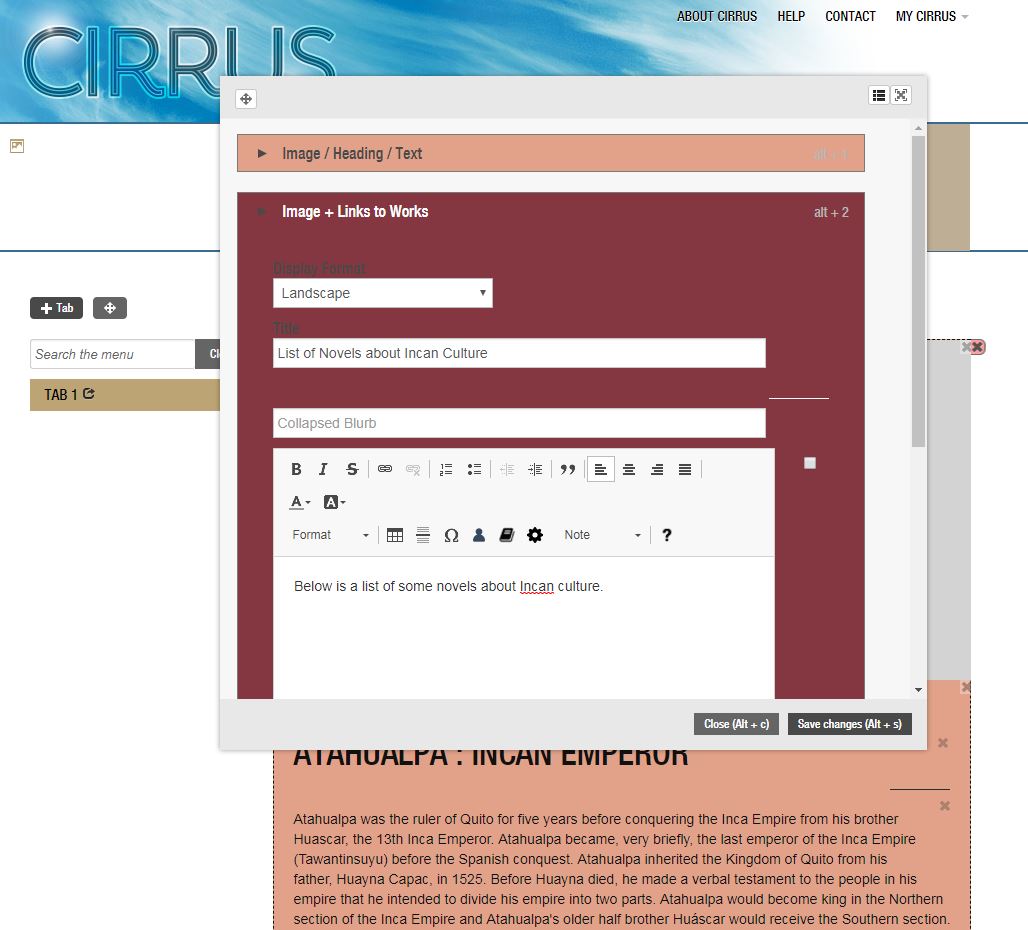
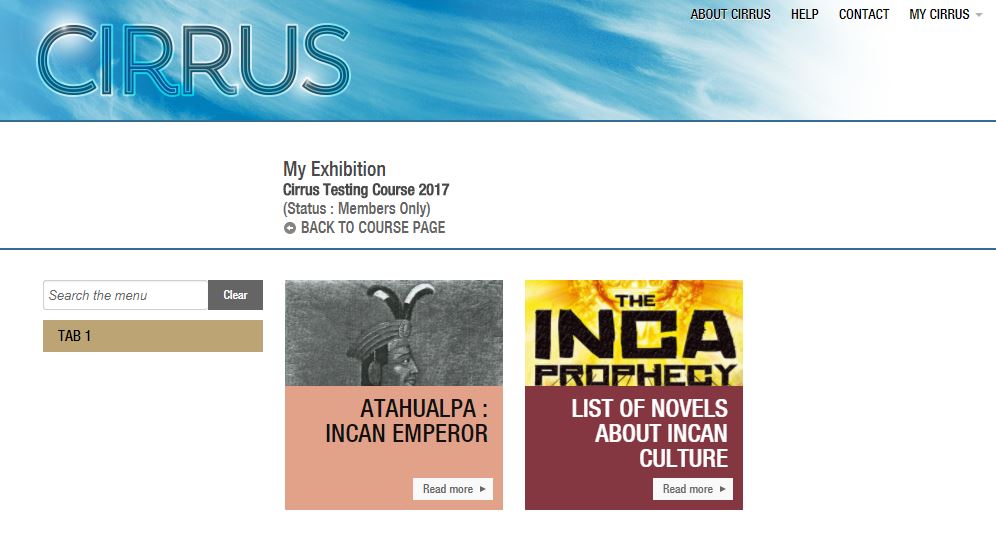
Select a display format for the image at the top of the tile, add a succinct title, and add your main text. You cannot alter the background colour of this tile, as you did with the text-based tiles. All list-based tiles are maroon.
Note: These list tiles draw their content from the AustLit database. Therefore, they can only be used to make lists of works or people that are listed on AustLit. To make a list of works or people that are not on AustLit, use the text-based tile (as in this exhibition) or a simple text box.
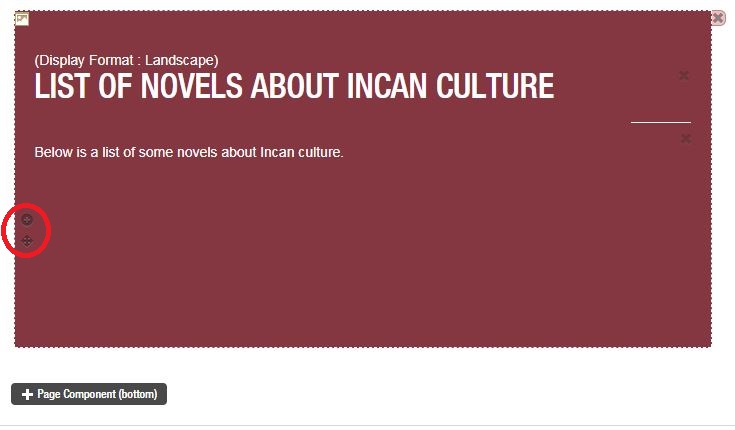
Click Save changes once your tile looks like the image below:
-
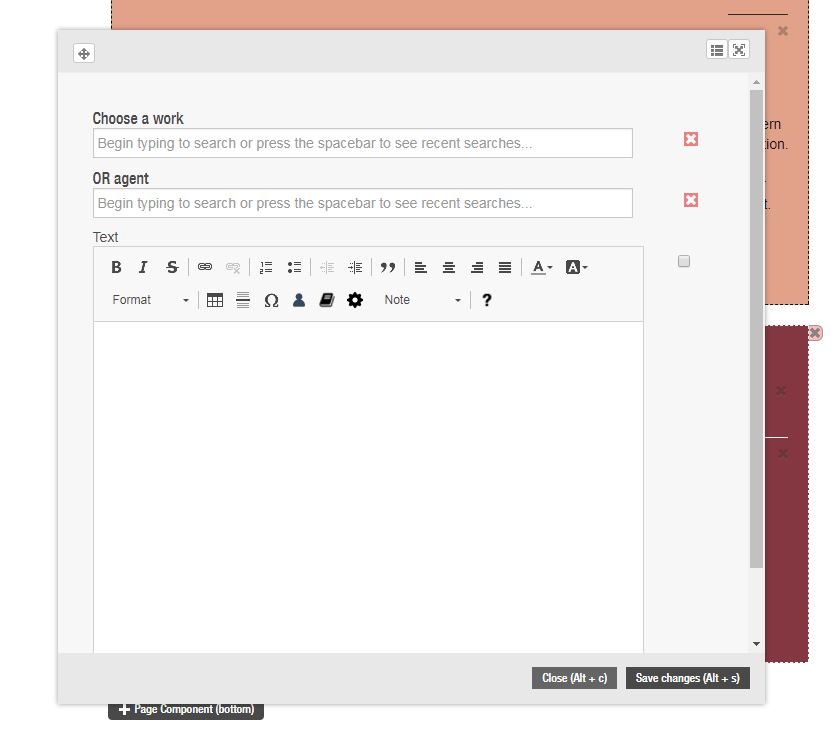
For this tile you will still need to add the individual works that you want to list. Do this by clicking the plus button on the tile itself:
-
Clicking the plus sign will bring up a pop-up window. The pop-up window has searches for both works and agents.
-
Note: Lists are created in the same way whether you are making a list of works or a list of agents (authors and organisations). The only difference is which search field you choose in the pop-up box. In this case, we are making a list of works. Type the name of the work into the search field at the top, and select the correct work.
-
Then add any additional text in the text box, and Click 'Save changes'. Your tile should now look like this:
-
Continue adding works until you have a full list. If you wish, you can add an image to the top of the tile.
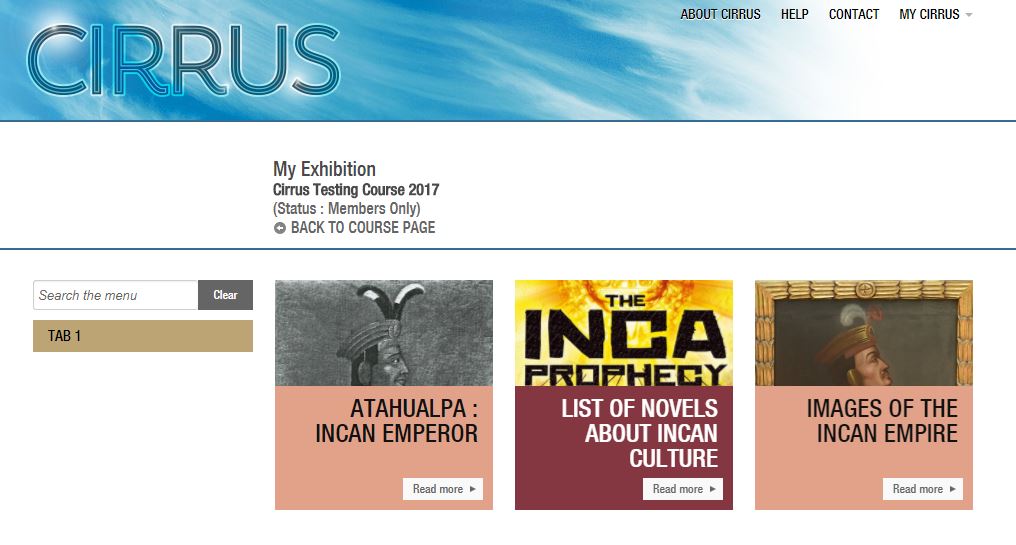
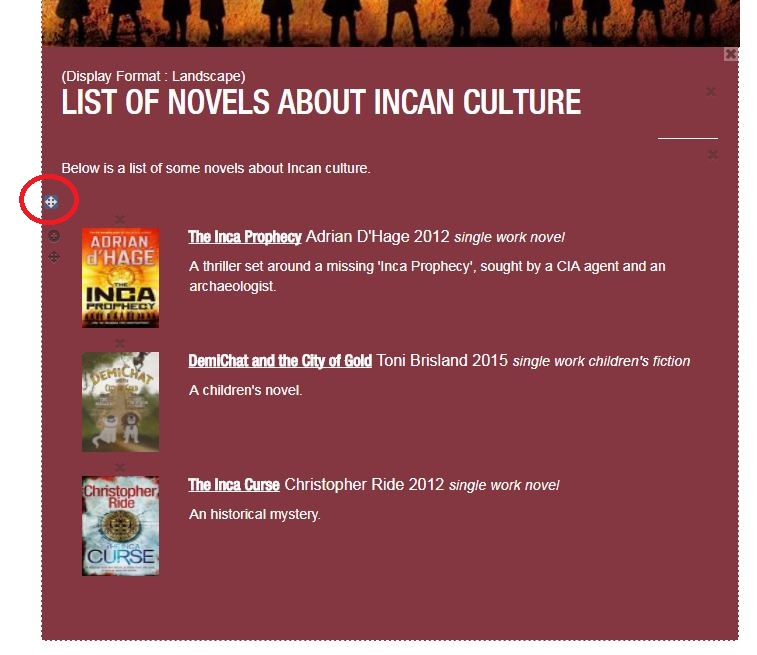
Your tile should now look like this in (first) editing mode and (second) public mode:
-
The difference between this tile and the other two types is that the display format here determines the display of the images in the slideshow, not just the image at the top of the tile.
Choose from the following options:
Landscape: use if all of your images are in landscape format (i.e., horizontally aligned).
Portrait: use if all of your images are in portrait format (i.e., vertically aligned).
Custom: use if your images are a combination of landscape and portrait.
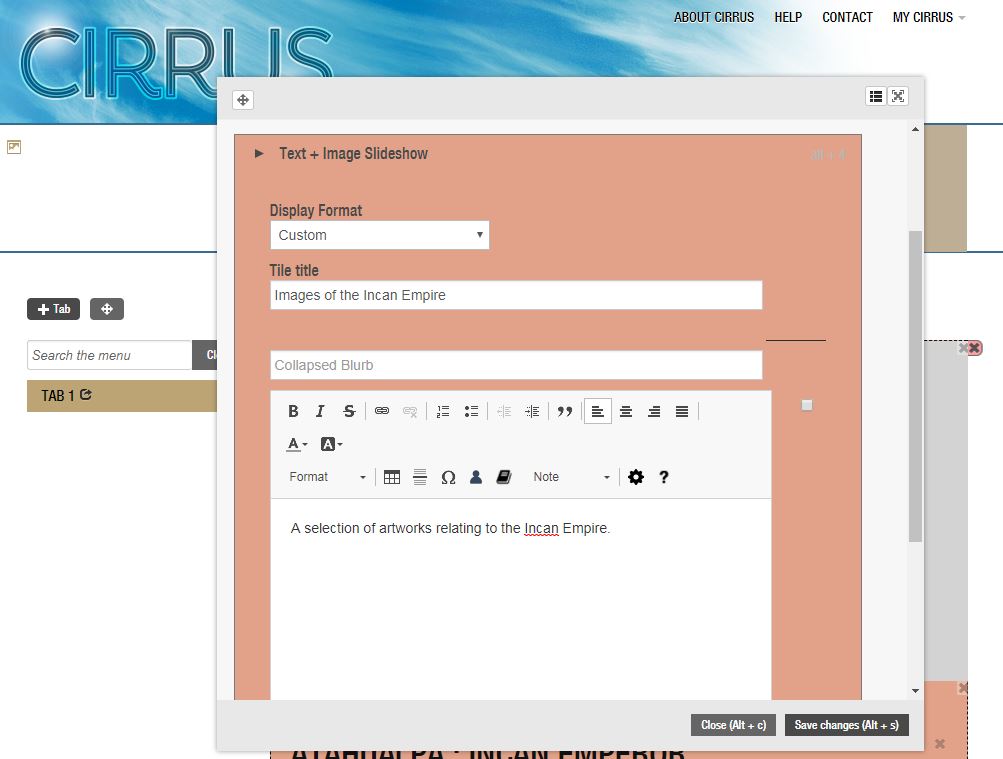
In this example, we're using a mixture, so we have chosen to set the display format to custom.
Add a succinct title and text.
Click 'Save changes' when the pop-up window looks like this:
-
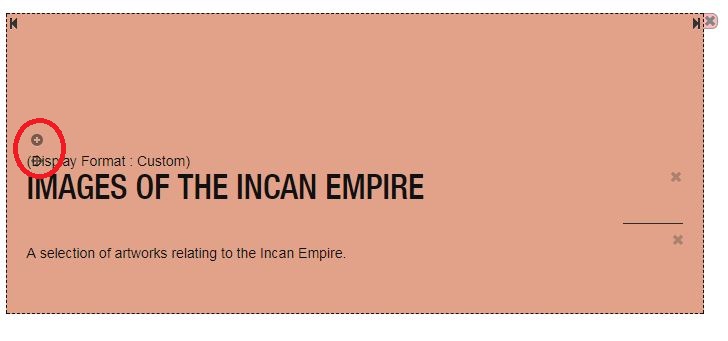
You now have a basic tile. To add the images to the slideshow, use the plus button that appears on the orange rectangle, above the display format:
-
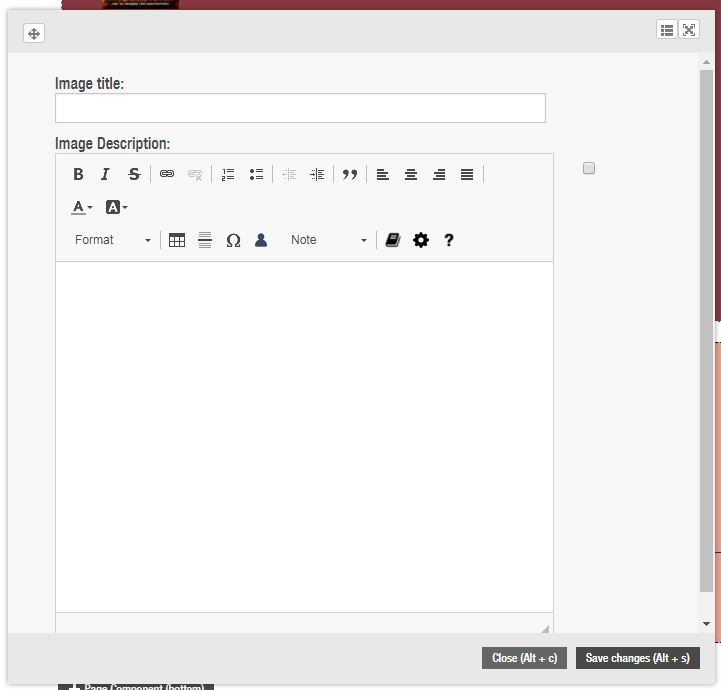
Clicking this button brings up the following window:
-
Add the title and any text that you wish to display under the image, and click 'Save changes'.
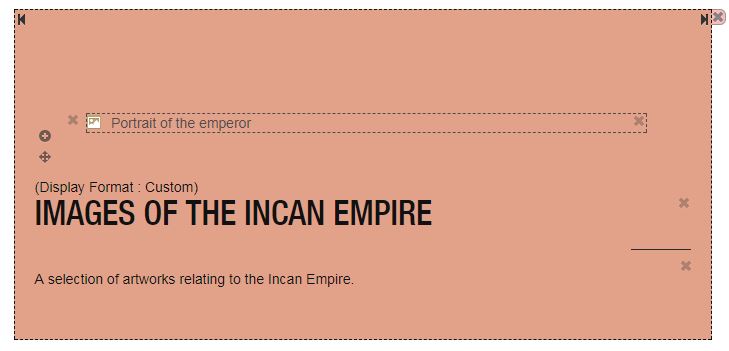
Your tile should now look like this:
-
The final step is to upload the image itself.
Note: The image should not be too large nor too small. We recommend a height of somewhere between 400 and 700 pixels. It also preferable if all of your images are at least roughly the same height (for portrait mode) or width (for landscape mode). This makes clicking through the slideshow a smoother process for readers.
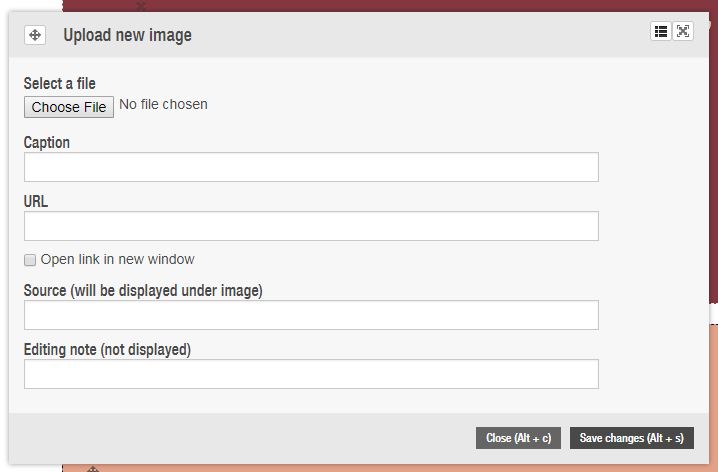
Click the image icon next to the title, which brings up the following pop-up window:
-
Click 'Choose File' to select your image, which should be saved on your desktop or a USB drive. If you haven't already added the source as part of the description in the previous step, add that here.
Click 'Save changes'.
Your tile should now look like this:
-
Continue adding images in the same way until you have a complete slideshow.
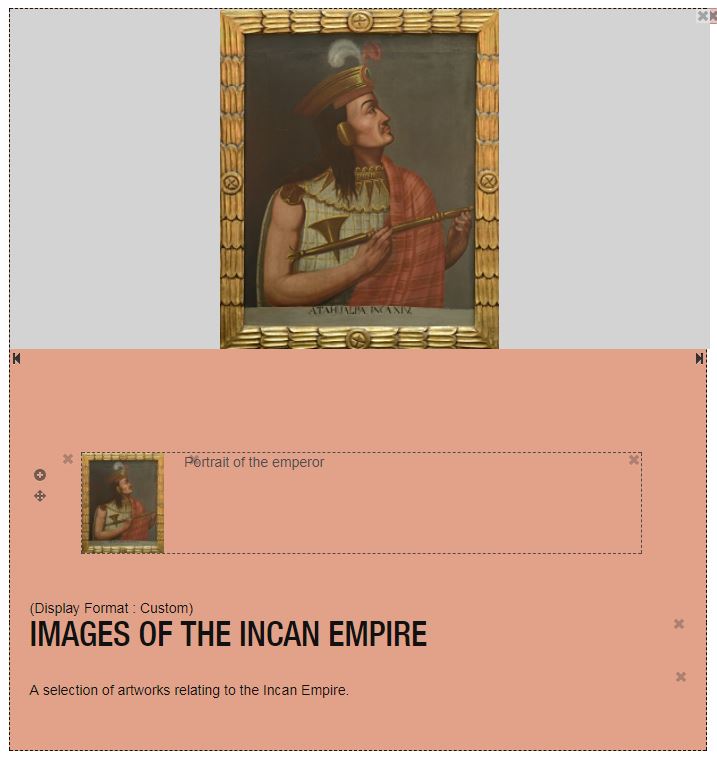
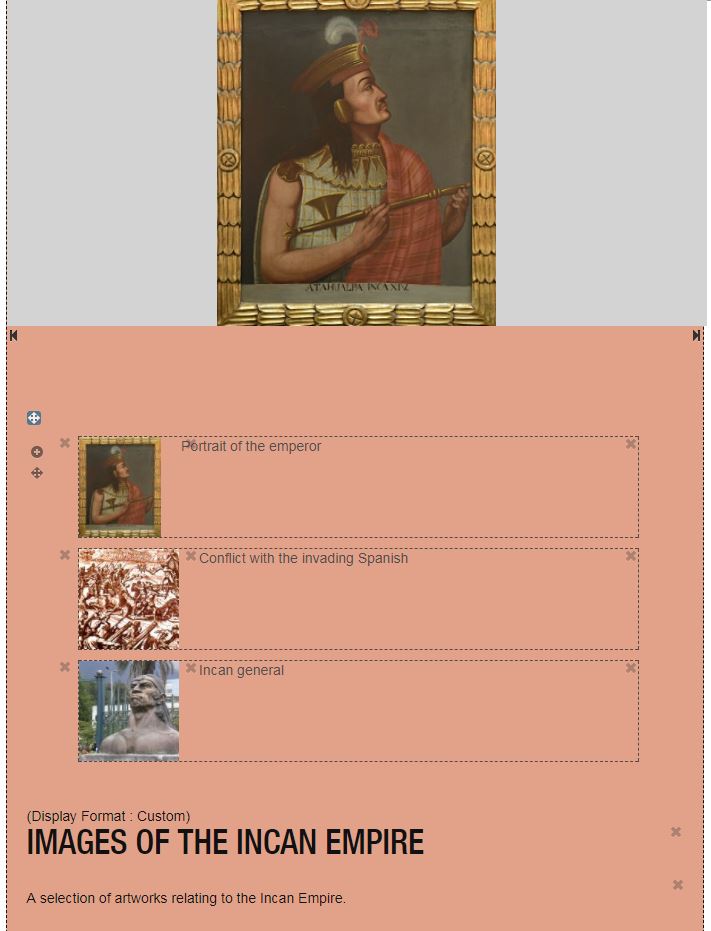
Your completed tile should now look like in (first) editing mode and (second) public mode:
-
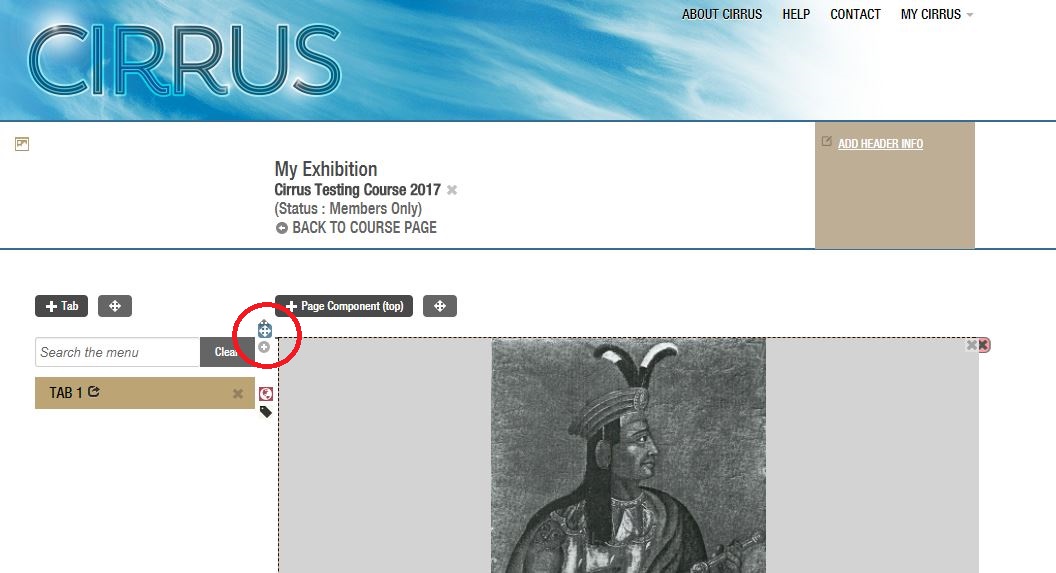
This will collapse the tiles into a list, and you can then drag them into the preferred order.
Remember to click the button again when the tiles are in the final order, to lock them in place.
You can rearrange contents in your lists and your slideshows in the same fashion: in these cases, make sure you use the button on the specific tile that you want to edit:
You might be interested in...
