-
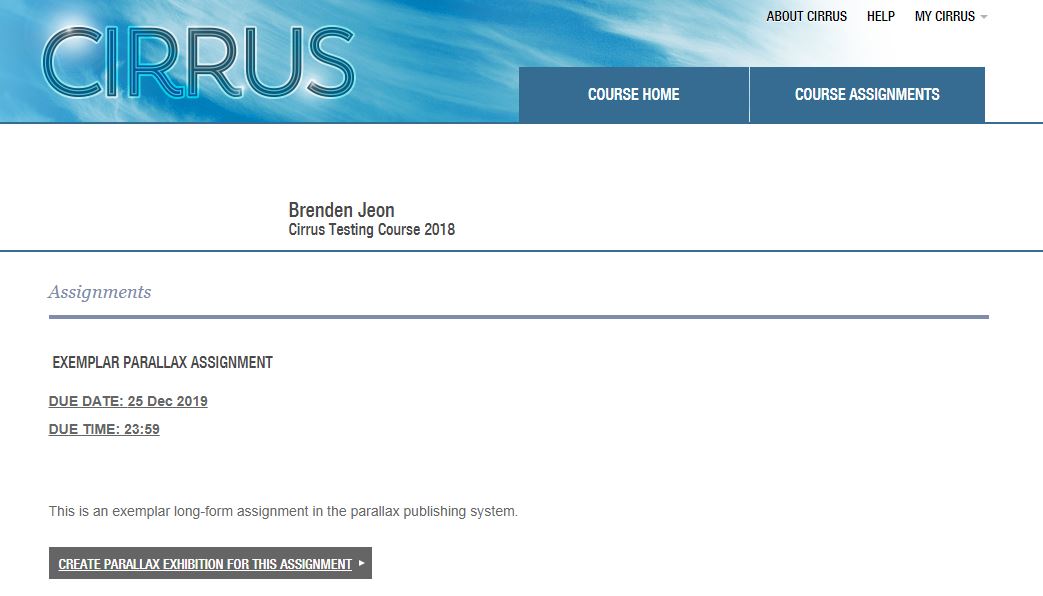
Locate the correct assignment on your course page. It should look something like this:
-
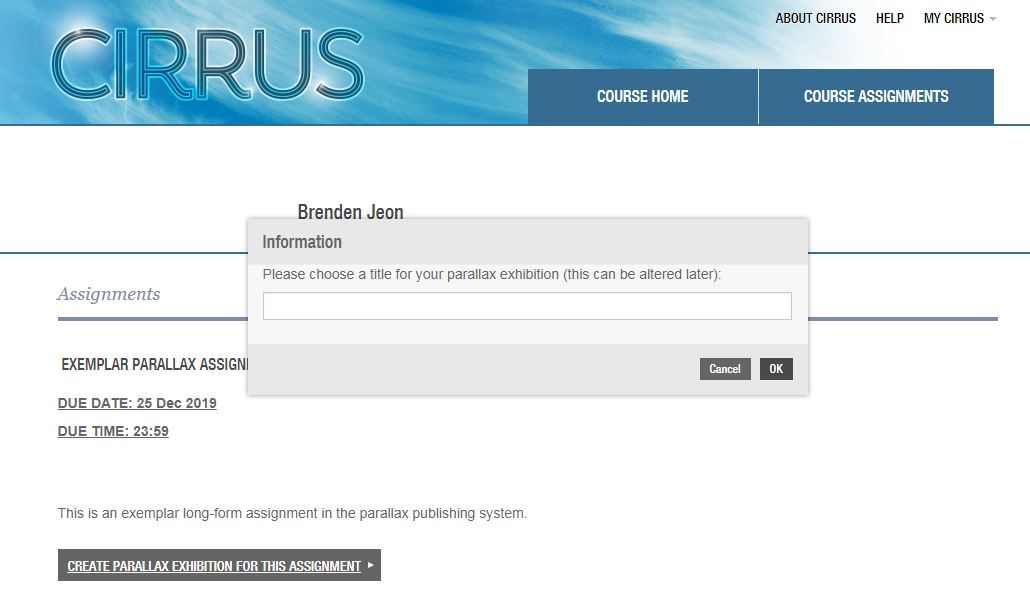
Click on 'Create Parallax Exhibition for this Assignment' and choose a title.
Note: all content is editable, so this need not be your final title.
-
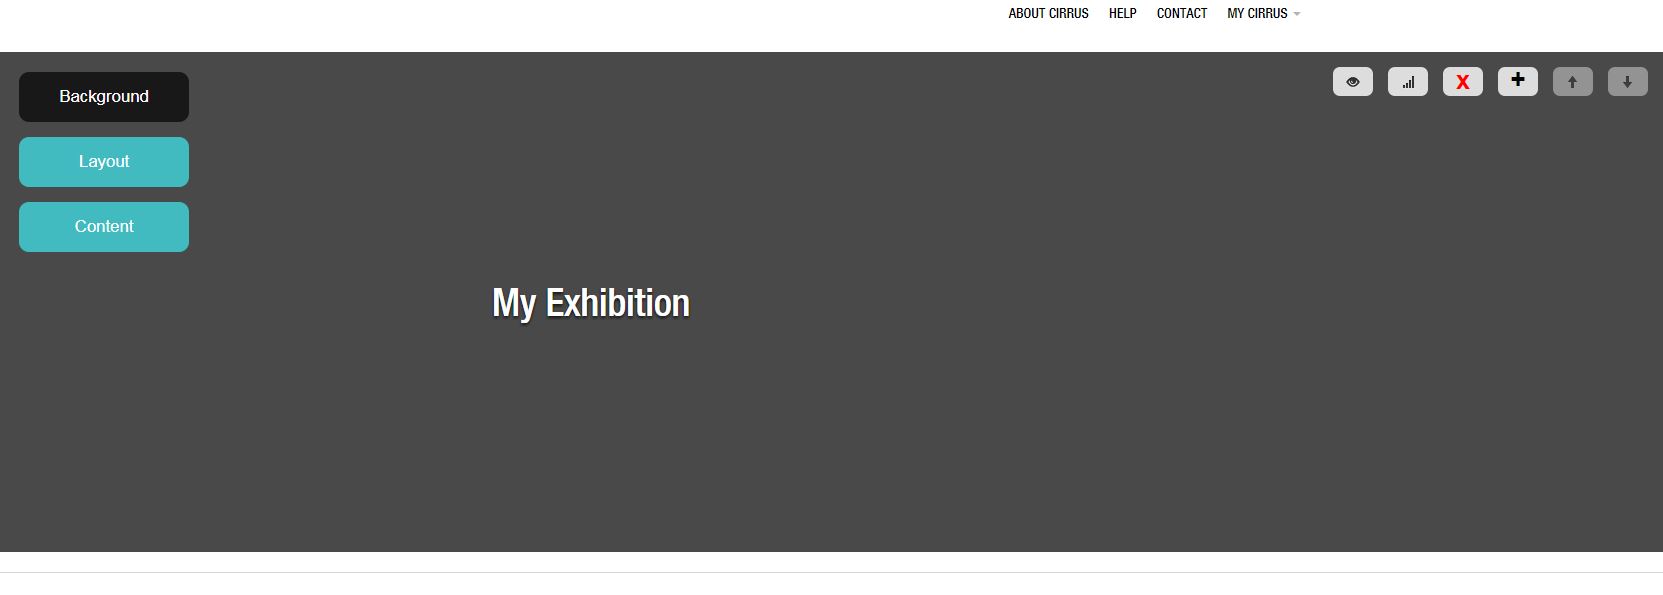
Click OK, and you will be taken to the blank space in which you will be creating your parallax webpage.
It will look like this:
-
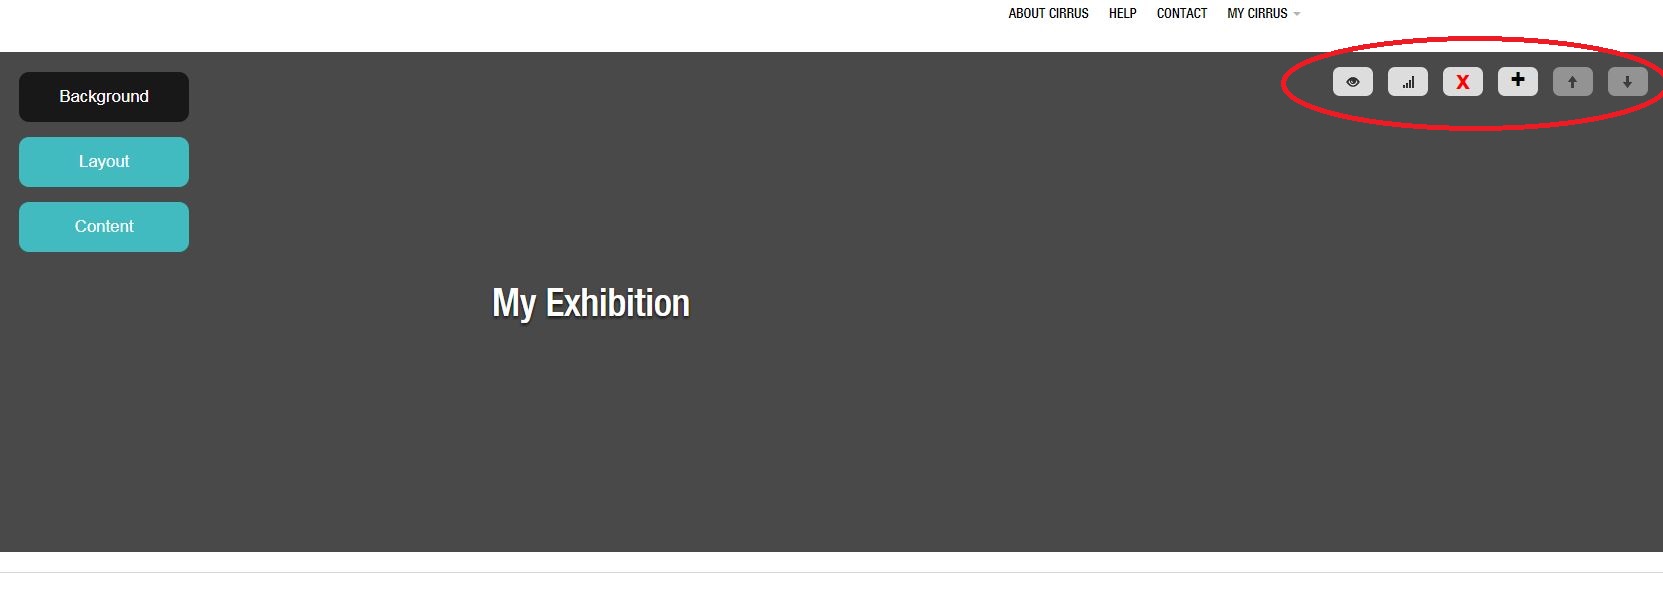
All the tools for creating the page are on the left-hand side, and all the tools for navigation are on the right-hand side.
First, the tools for navigation:
-
From left to right, these buttons:
1. Change the permissions on the assignment. By default, it is set 'In Progress', so that only you and course staff can see it. In certain circumstances, we can set it to Public.
2. Check the word count of the assignment.
3. Delete the current section (which we explain further below).
4. Add a new section.
5. Move the section up.
6. Move the section down.
Using these buttons will be clearer as we explain the content creation.
-
For content creation, we use the buttons on the left-hand side of the screen. Each gives a set of branching options that allow you to build up the content incrementally.
Once you've completed one section, you will then add a new section and repeat the process.
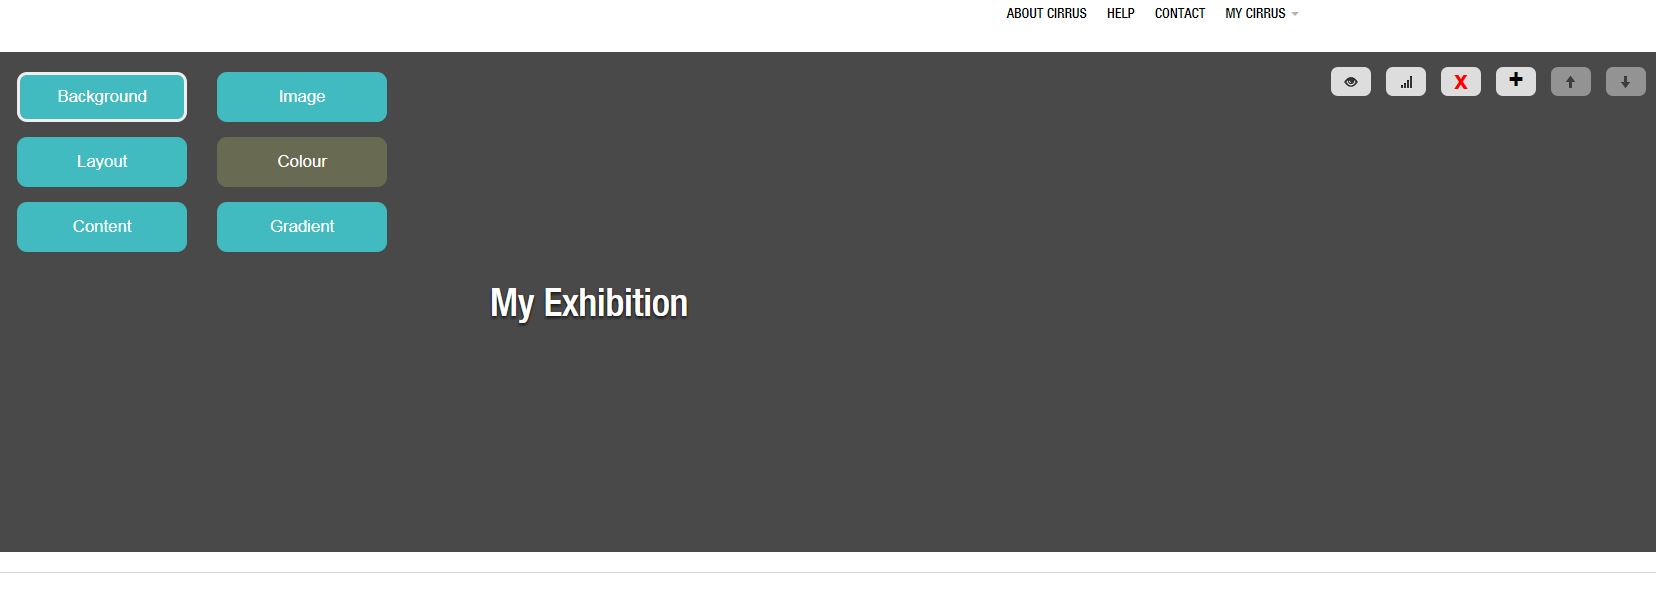
First, Background.
Click on ‘Background’, and you will be given the option of Image, Colour, and Gradient. You can use Gradient in conjunction with either Image or Colour, but image and colour are mutually exclusive: you choose one or the other.
-
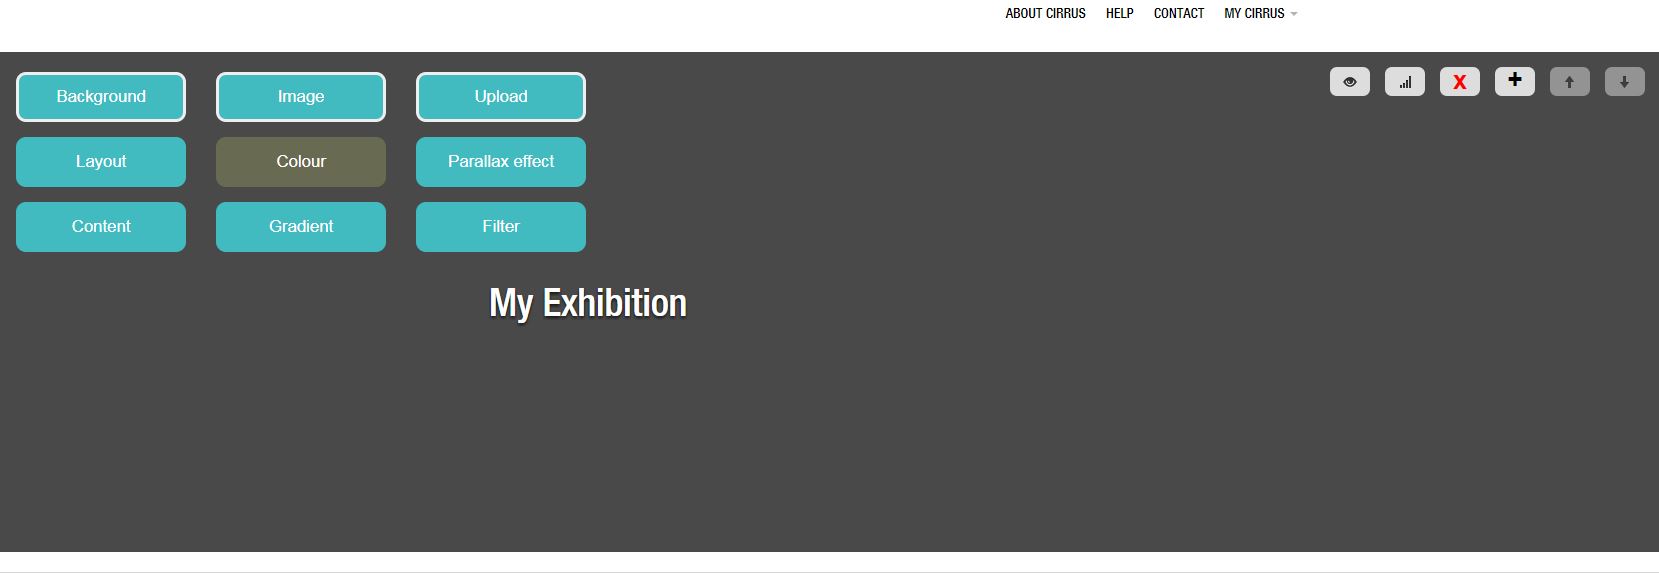
To upload an Image, click on that box. This gives you the option of uploading an image, selecting the parallax effect, and adding a filter.
Note: Images should be high-quality, large files. The system does not allow you to upload a file over 4MB, but the image should be of sufficient size and quality to fit on the screen without distorting or stretching. An image with a width of 1000dpi will be sufficient for this system.
Images are uploaded as you attach a file to an email: browse for the file, then select it. Once you have selected and saved an image, you will see it on your screen. You can then add features such as filters or the parallax effect.
If you select a filter and don’t like the effect, simply return to that menu and select ‘none’ to remove it.
-
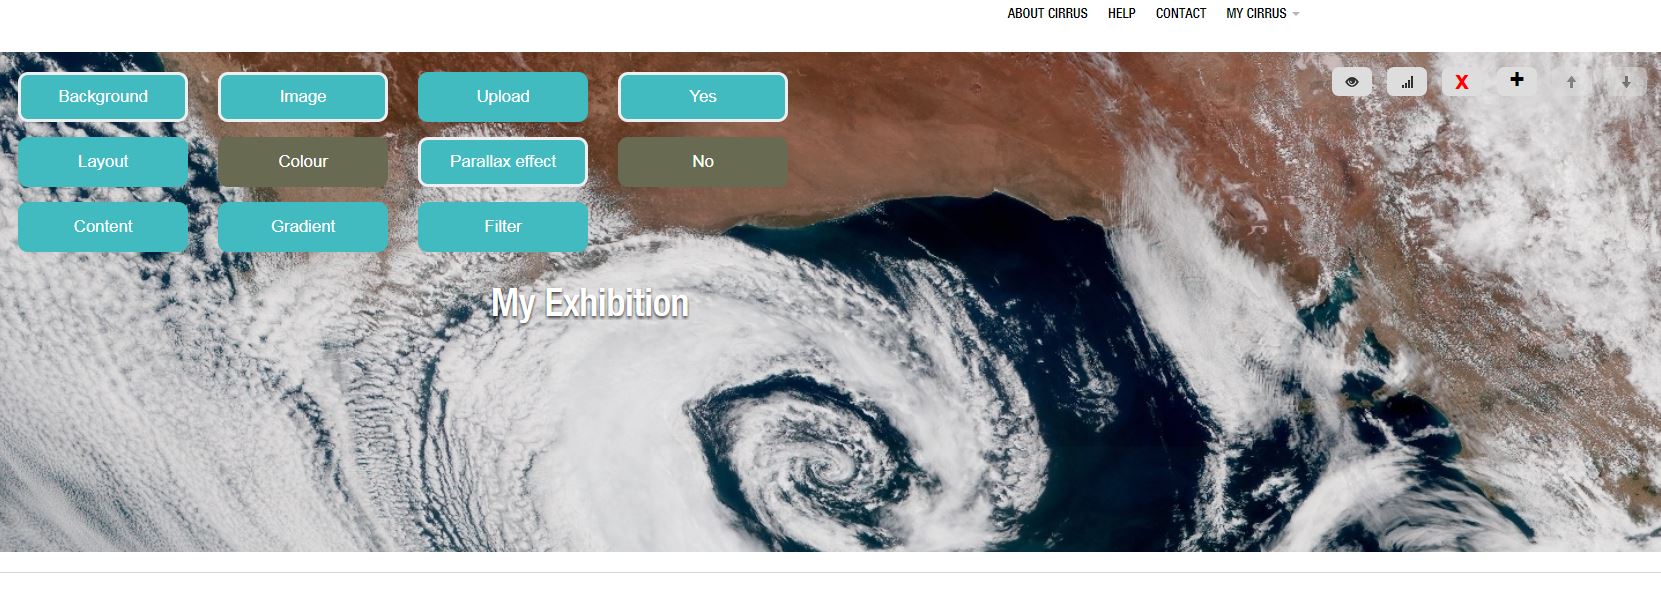
This image, for example, has the parallax effect applied, but no filter:
-
To use a background colour instead of an image, click on the colour box and select one of the three options.
To choose gradient, click on the gradient box, and select from the options.
At no point do you need to save the background as a whole; it is saved incrementally as you progress.
Next, Layout.
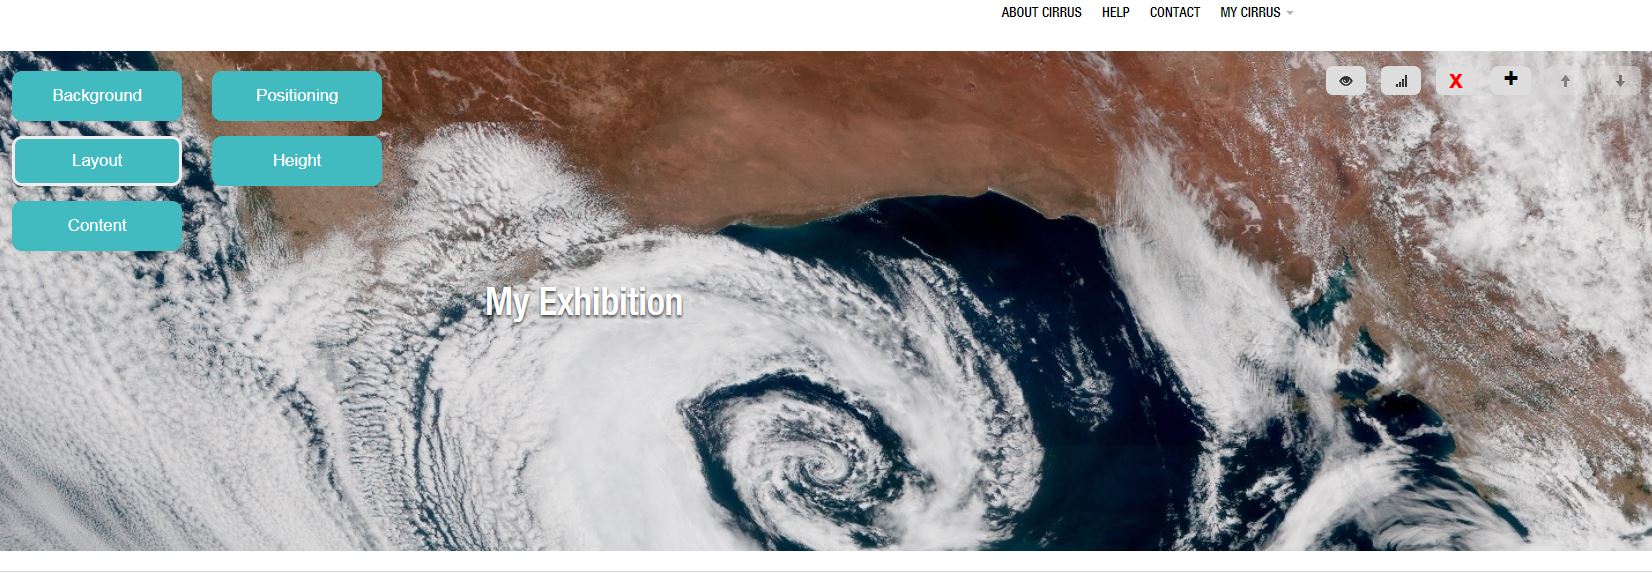
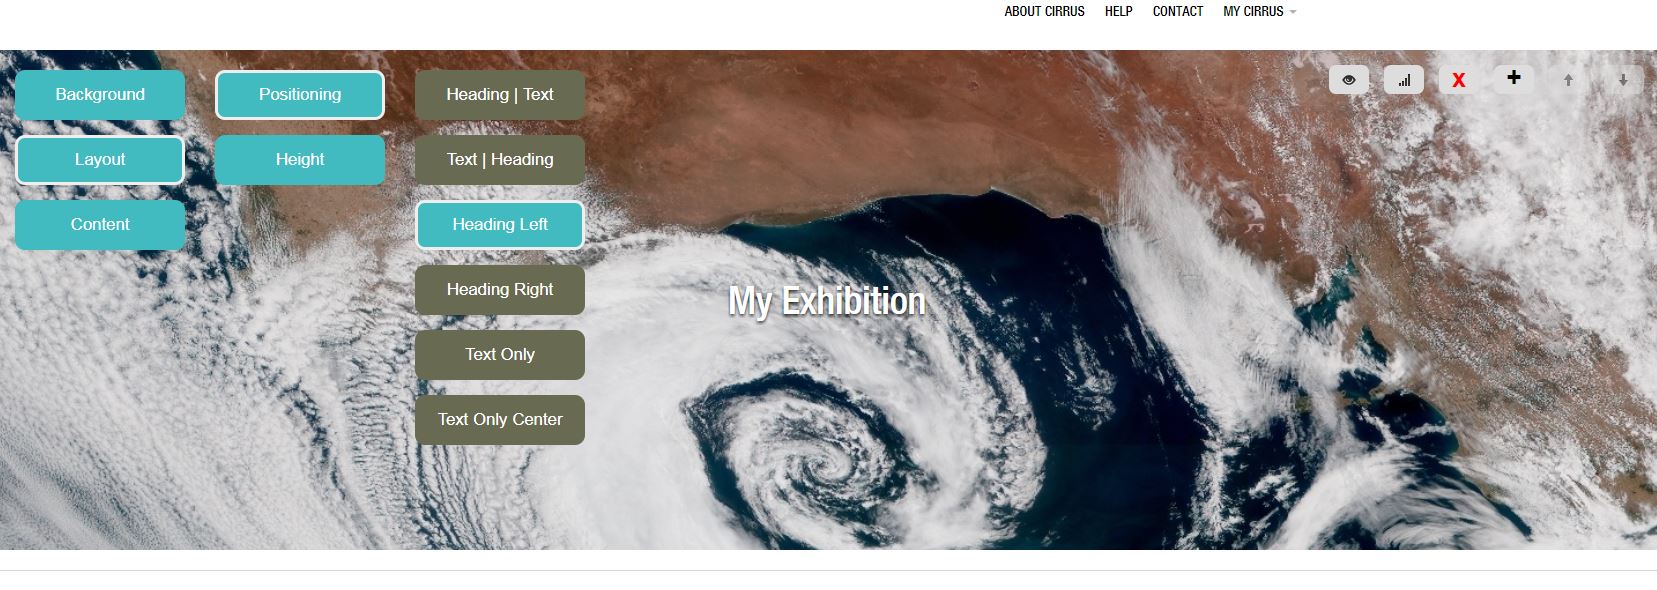
Layout falls into two categories: positioning and height. Click on the Layout box to open these options.
-
Positioning refers to
a. what type of content you have (heading and text, heading only, text only)
b. where it is positioned on the page
Depending on what type of content you are adding, you may wish to experiment with these options. You can change the look of your layout by selecting a different button at any time (e.g, swap from text only to text | heading).
Note: Although you can delete a section, we recommend you actually adjust the settings as a first option, rather than deleting. Usually, this will get you the result you're looking for. In addition, you will not be able to delete the first section, as this is needed to move you between the course page and the actual assignment.
-
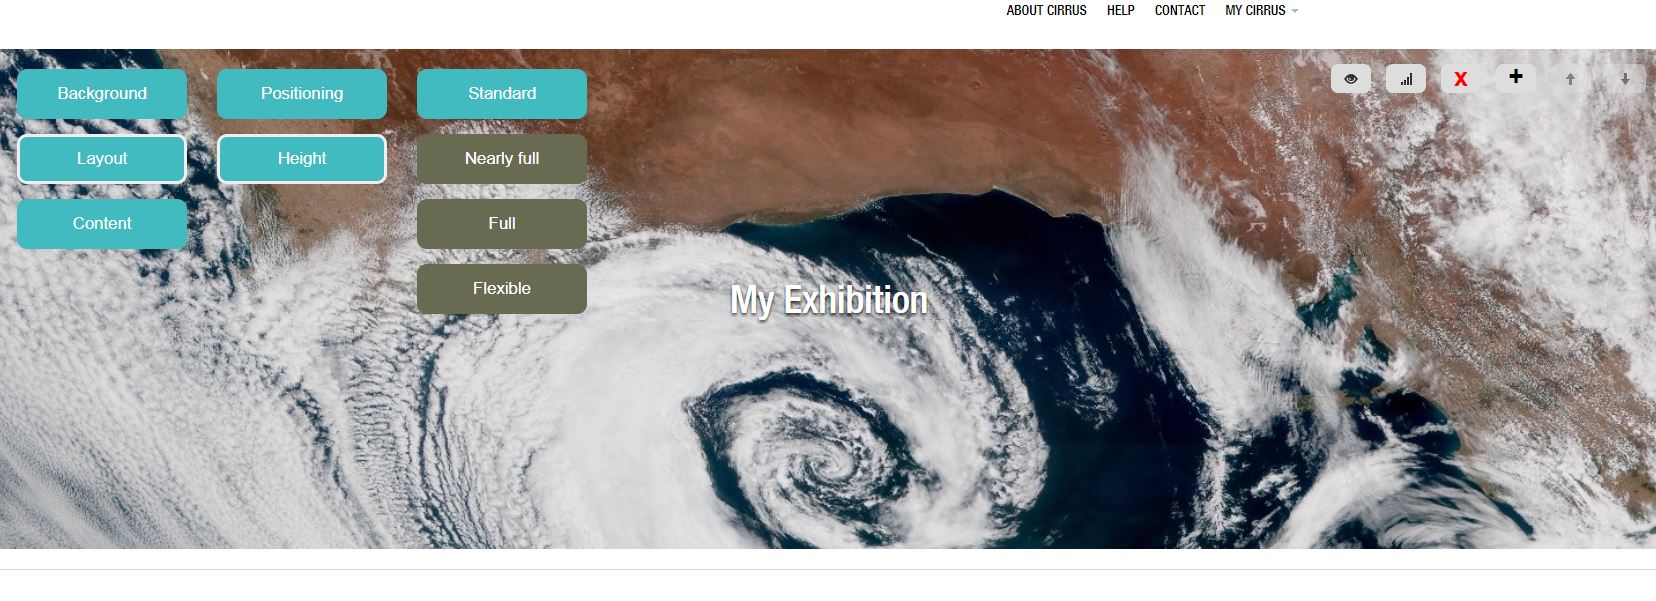
Height refers to the height of this section of the page.
‘Standard’ is the default, and is the height shown in the example below.
‘Nearly full’ allows a small section of the next block to show at the bottom of the screen, encouraging people to scroll.
‘Full’ fills the screen, for a dramatic effect.
‘Flexible’ adjusts to the amount of content in the section, so that a small amount of text or a header doesn't include large blank spaces.
Note: different sizes work better for different types of content. We recommend ‘Nearly full’ for large-scale images and ‘flexible’ for text boxes, but it will depend on what you're looking for.
-
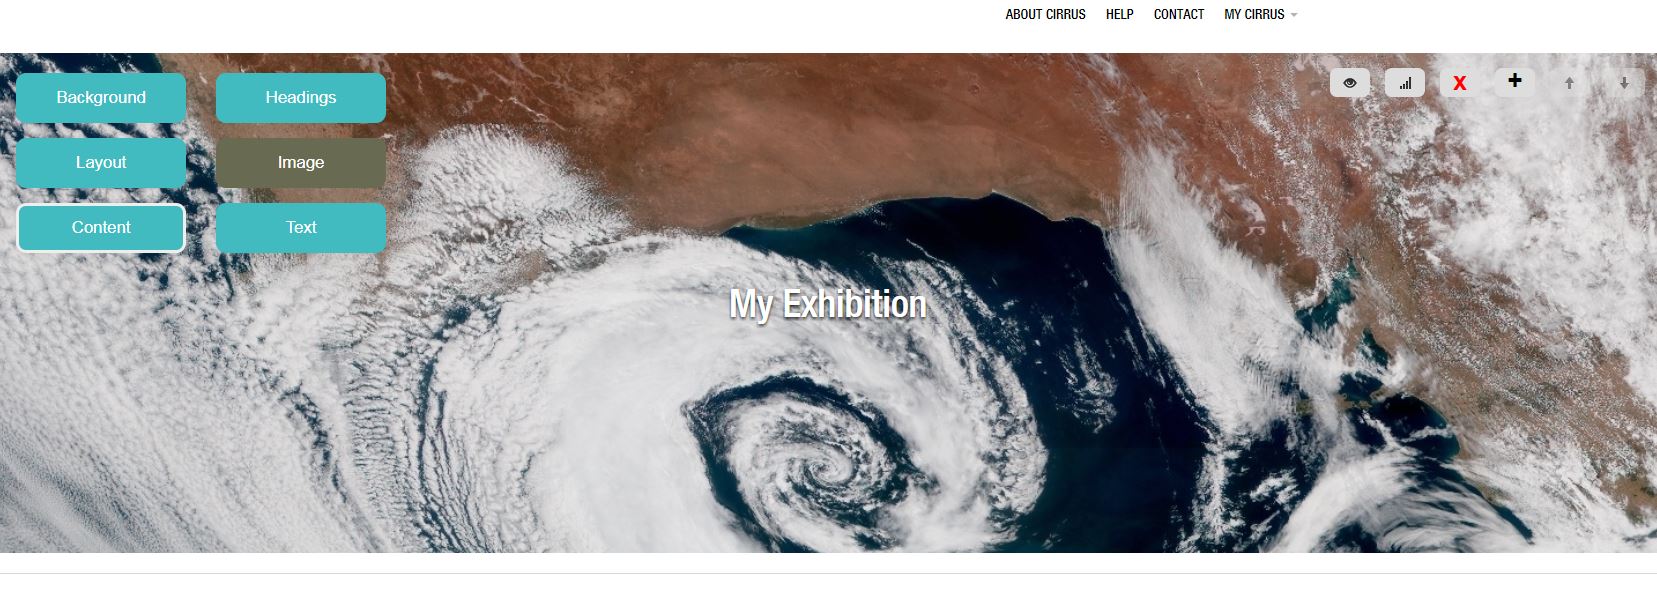
Finally, Content.
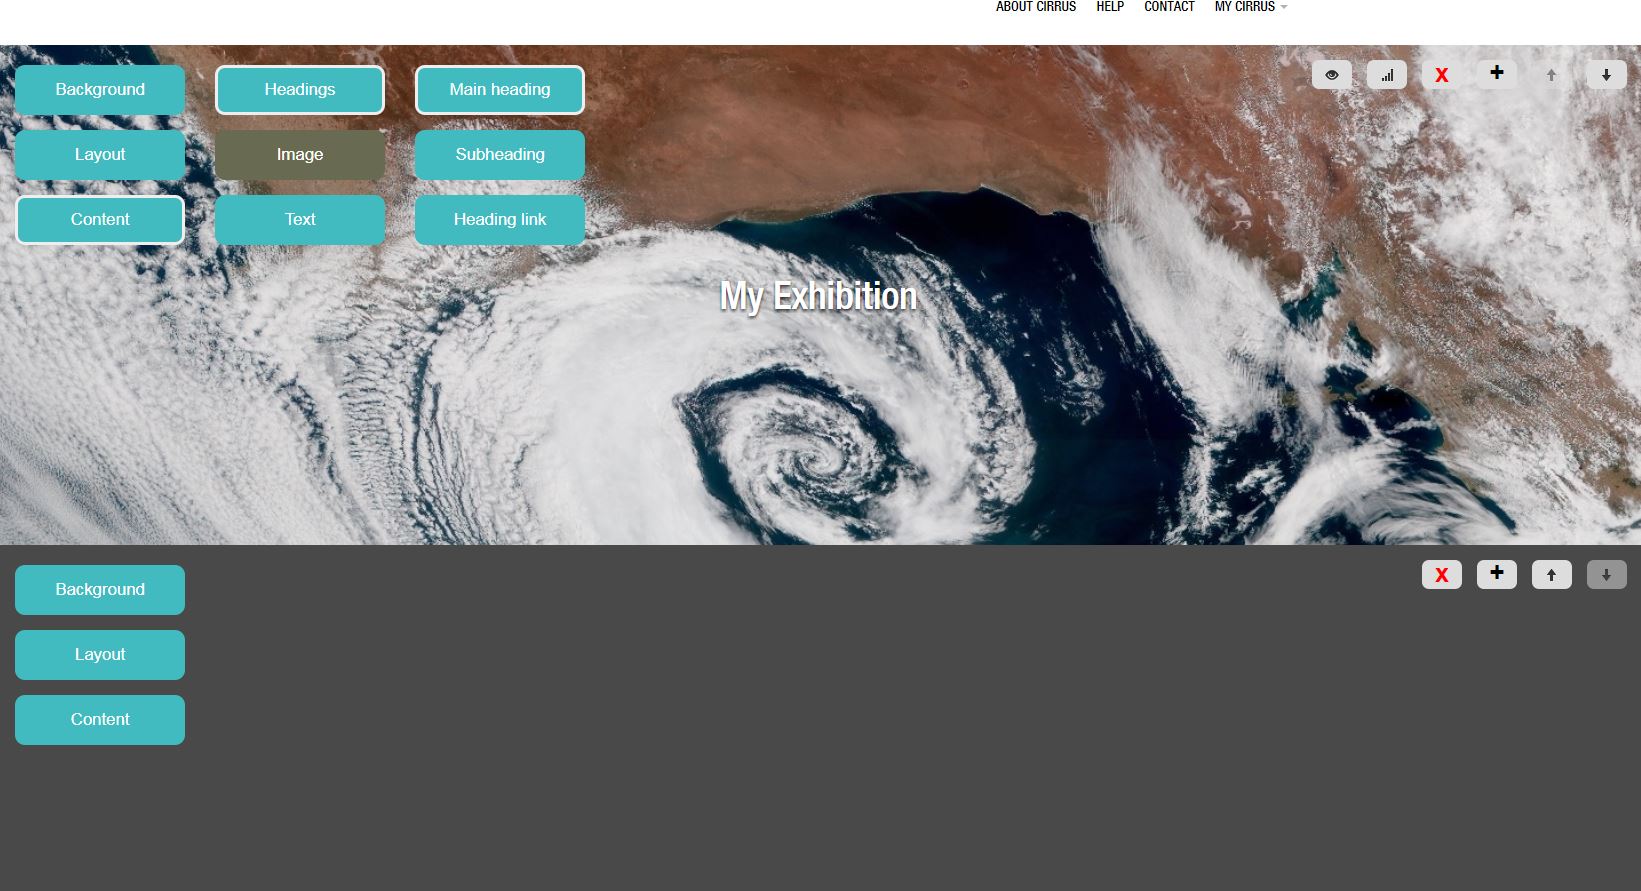
We already have some content in this section, because we created a title when we created the page. Whether you are adding or editing content, the process is the same.
Content is divided into Headings, Image, and Text. If you have already added an image as the background, you will not need to add another image here.
If you do wish to add an image here, it will take the place of the header. You can have a header and text or an image and text, but not a header and an image.
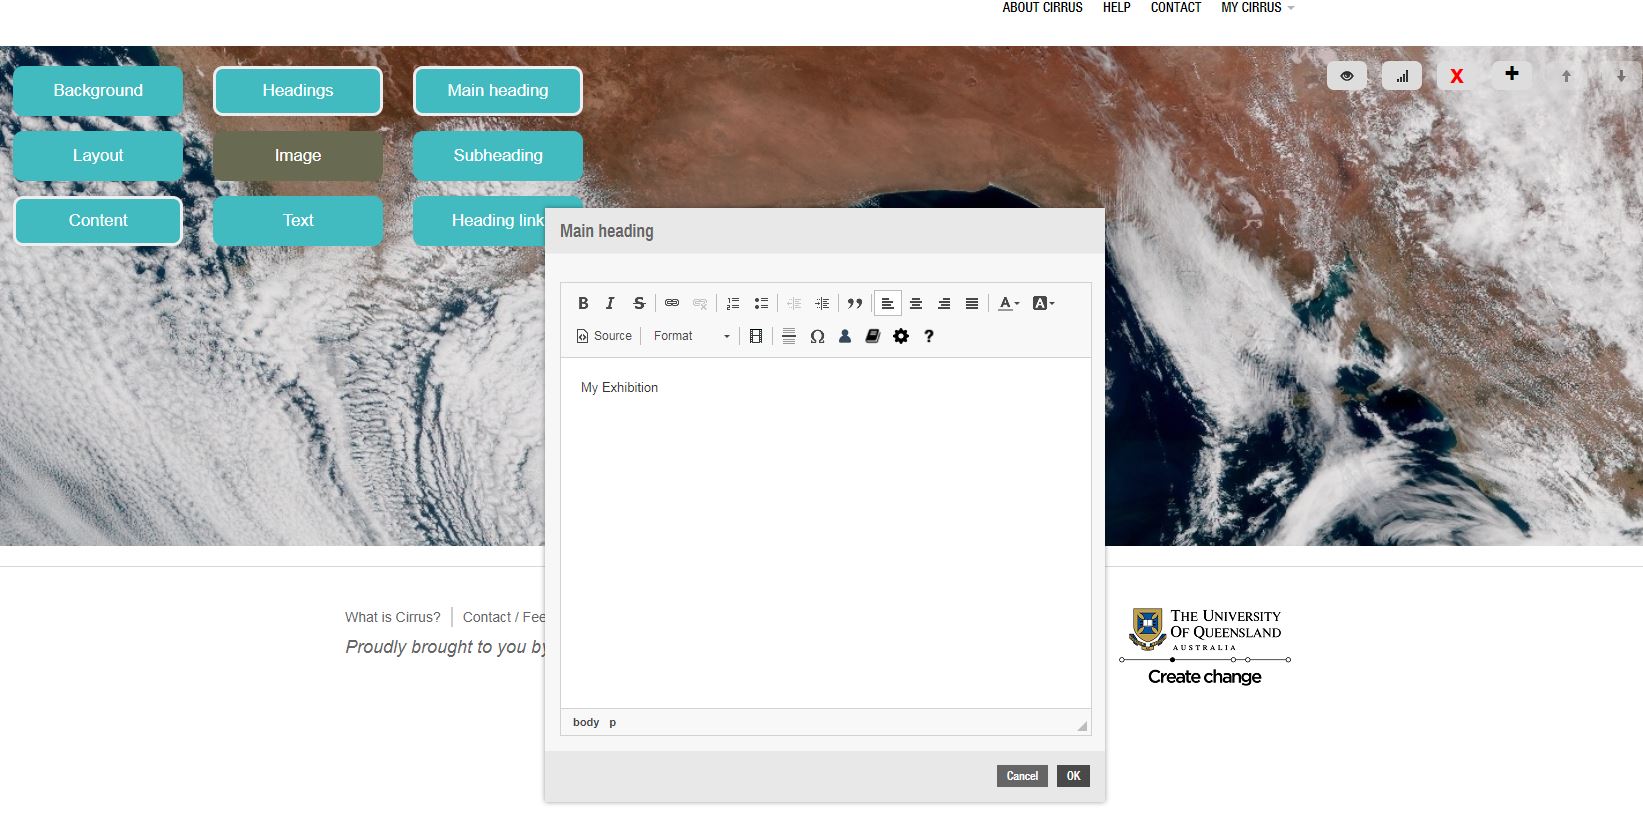
Click on the Heading box to open up the options. You can select a main heading, a subheading, or both, depending on the section and its purpose. Selecting an option will bring up a text box into which you type your heading.
-
You will also be editing your text from this menu. For example, you want to edit the existing title ‘New Parallax Page’. This is a main heading. So click on the ‘Main Heading’ box. This will bring up a text box with your existing heading in it; simply edit the heading and click OK.
To add text to the section, click the Text option. This will bring up a text box into which you type or paste your text.
Once you click OK, your text is saved.
-
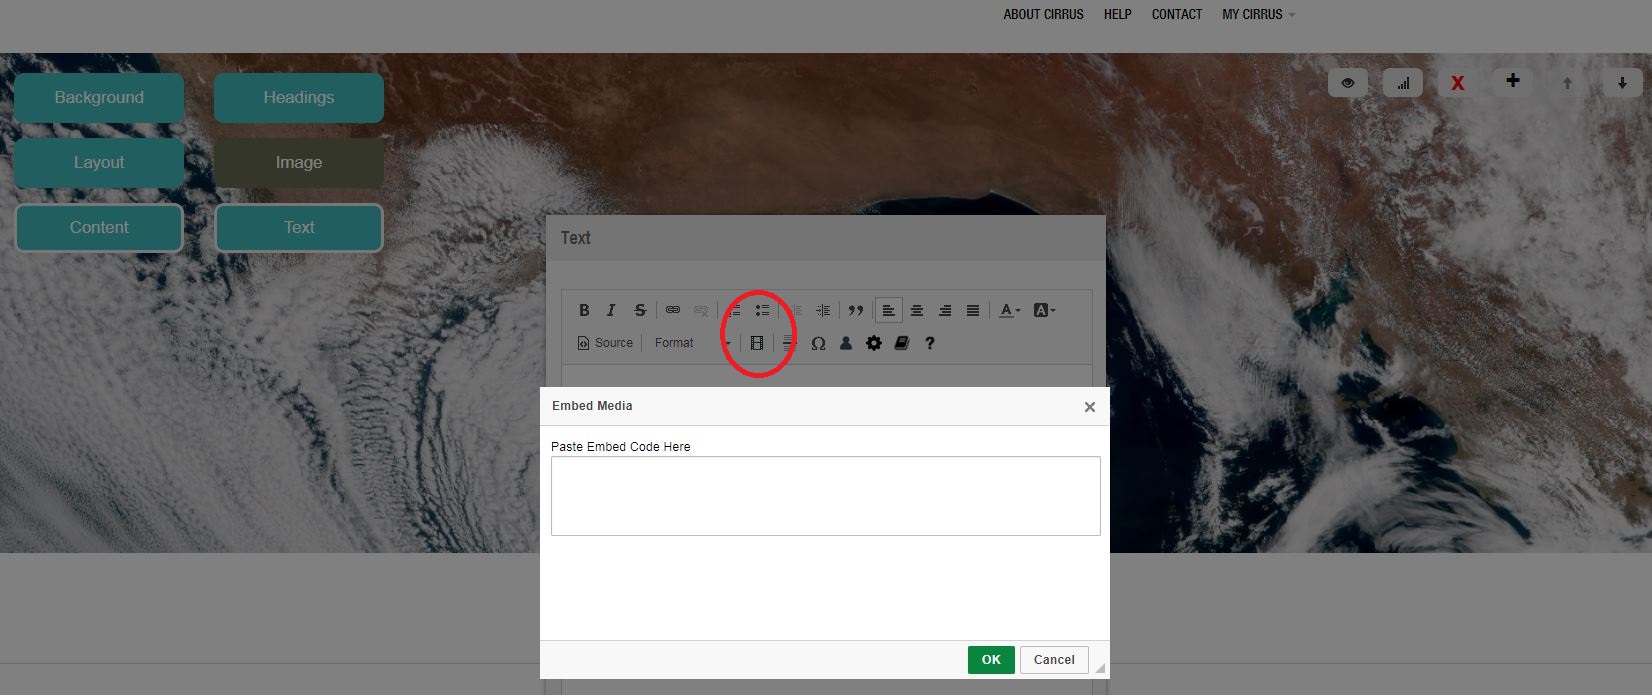
You can also embed videos into your text boxes, using the film-strip icon in the text box. Embedded videos must be uploaded to YouTube, Vimeo, or another site, and the embed code sourced from there.
Note: for information on locating the embed code, check this section of the student manual, but note that the actual embed process is slightly different in that section.
-
Remember: you can go back into the relevant section to adjust the height, positioning, or background of your section at any time.
Once this section is completed to your satisfaction, use the plus button to add a new section, and repeat the process, from Background, through Layout, to Content.
-
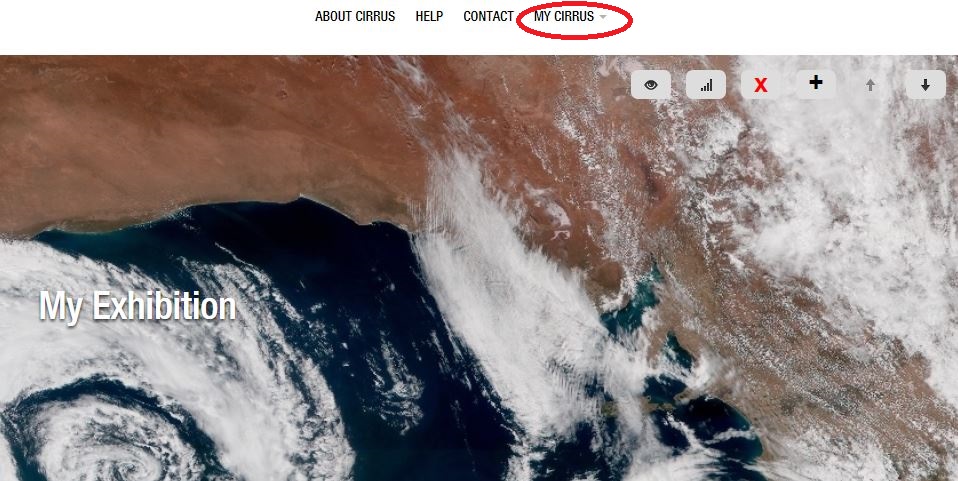
To this point, you have been working in what's called 'Editing Mode'. To see how the page would look to a casual observer, use the 'My Cirrus' button in the top right-hand corner to toggle to 'Public Mode'.
-
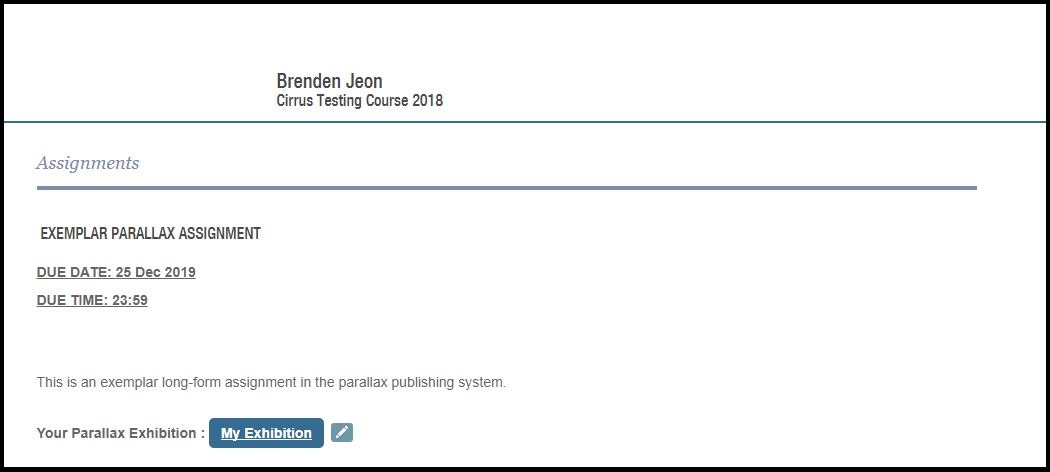
These two options are also available from your Assignments page: the title link will take you to the public version and the icon of the pencil will take you to the editable version:
-
To download your assignment as a PDF (for submission through Turnitin), use the My Cirrus drop-down menu in the top right-hand corner, and select 'Download as PDF'. The file can then be opened or saved as you like.
The following are some examples of webpages built on AustLit using this system:
2. Young and Emerging Publishers' Network
3. Writing New Waves: On Surfing and Disability
4. Women in Radio (student internship outcome)
You might be interested in...
