-
The following table lists the types of assessment currently supported through Cirrus. The first option will be available as a Blackboard LTI plug-in from semester one, 2018. The second to fourth options are currently only available through the Cirrus website.
Type of Assessment Features Image assessment - convenor uploads image for annotation by students.
- students upload image for annotation by convenor or by their peers.
Text assessment - convenor uploads text for annotation by students.
- students upload text for annotation by convenor or by their peers.
Audio assessment - convenor uploads audio file for annotation by students.
- students upload audio file for annotation by convenor or by their peers.
Video assessment - convenor uploads video file for annotation by students.
- students upload video file for annotation by convenor or by their peers.
-
-
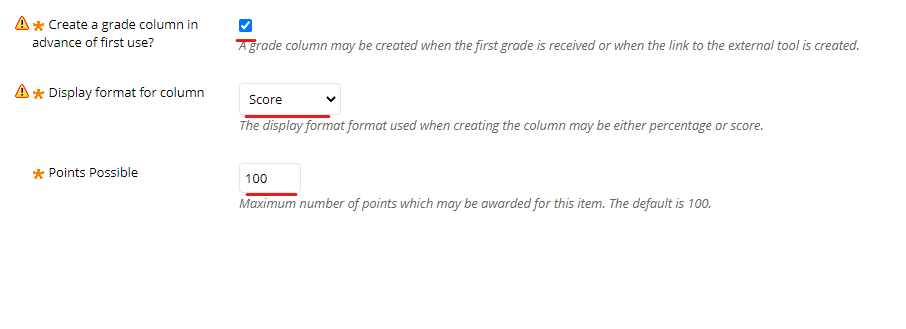
Make sure that you tick the following box to add the assignment to Grade Centre:
-
-
Once the basic Blackboard assessment item is created, you will need to either
1. Upload and finalise an annotatable item.
2. Create a space for the students to upload and finalise their item.
The annotation assignment will then be ready for students.
The steps below walk you through these two options.
-
Step one:
You will land on a screen that looks like this.
-
-
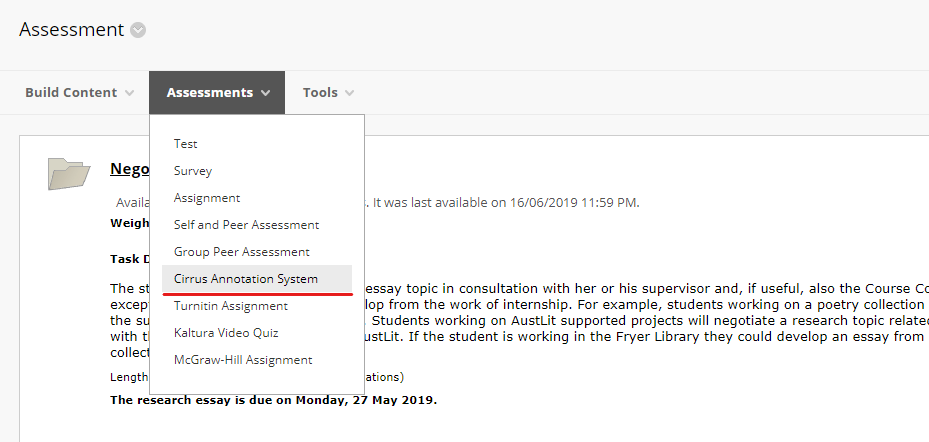
Click the blue box labelled Cirrus Annotation System, which will take you to the following screen:
-
-
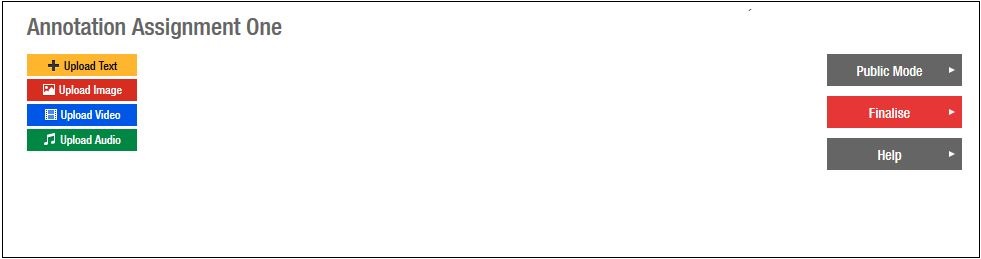
To upload your annotatable object, click on the appropriate icon from the far left column. In this instance, we are uploading an image, so we have selected the red button, second from the top.
-
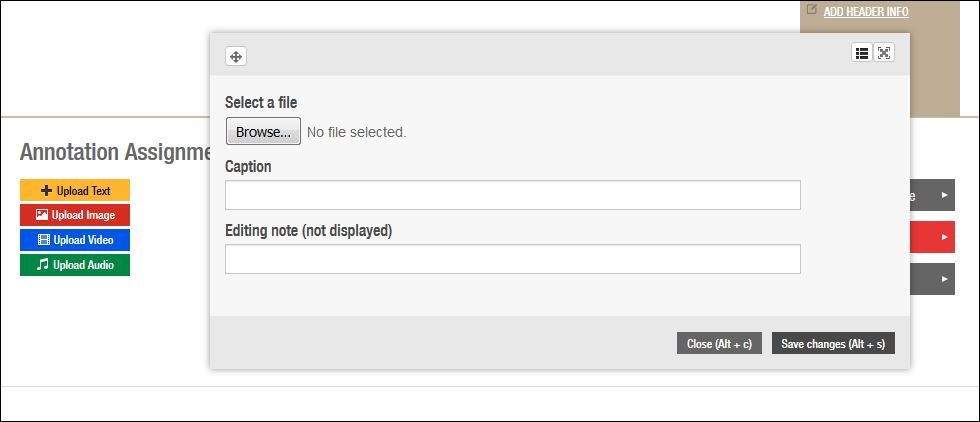
If you are uploading an image, a video, or an audio file, you will see a box that allows you to browse for the relevant file on your desktop / storage, as below:
-
-
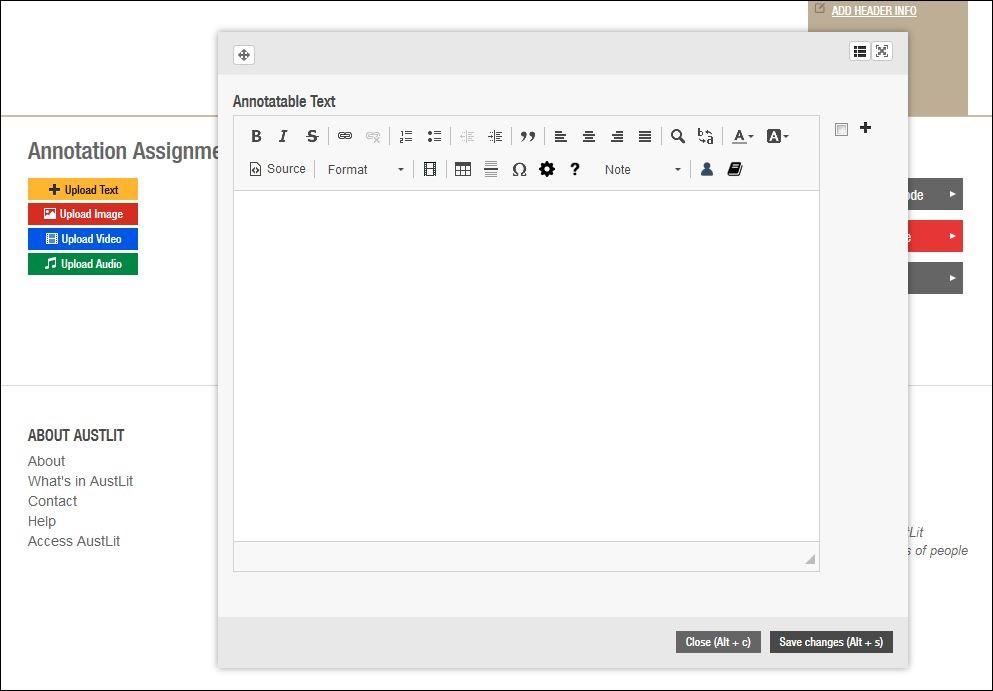
If you are uploading text, you will see an editing box, into which you type or paste your text for annotation, as below.
-
-
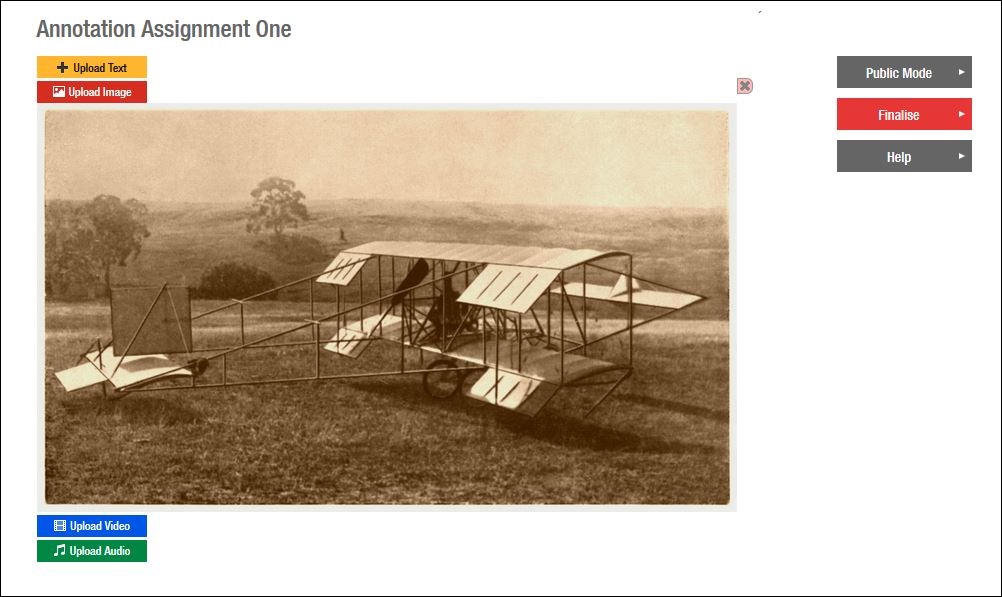
Upload your file or add your text, and click 'Save Changes'.
Your item will end up embedded in the page.
The last step is to finalise the item, which makes it annotatable.
Use the red (central) button to the right of the screen.
-
-
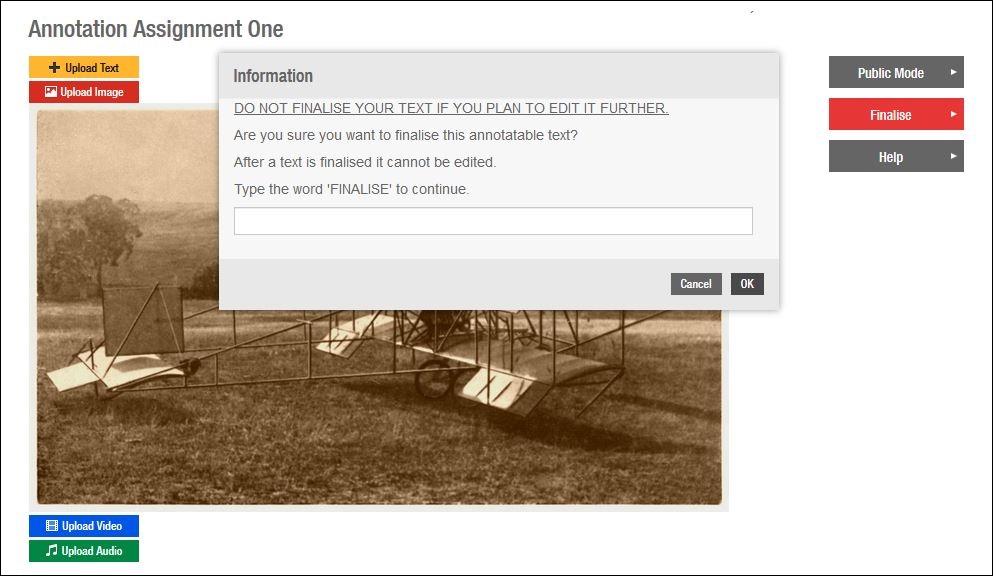
You will see the following pop-up window. Note that the annotatable object cannot be edited further after it has been finalised. Finalising the object is the final step.
-
-
Type FINALISE and click OK.
Congratulations: your assessment task is ready for students.
-
Step one
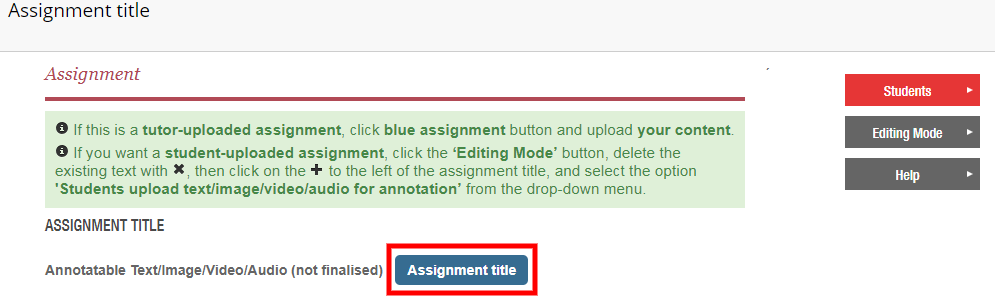
You will land on a page that looks like this:
-

-
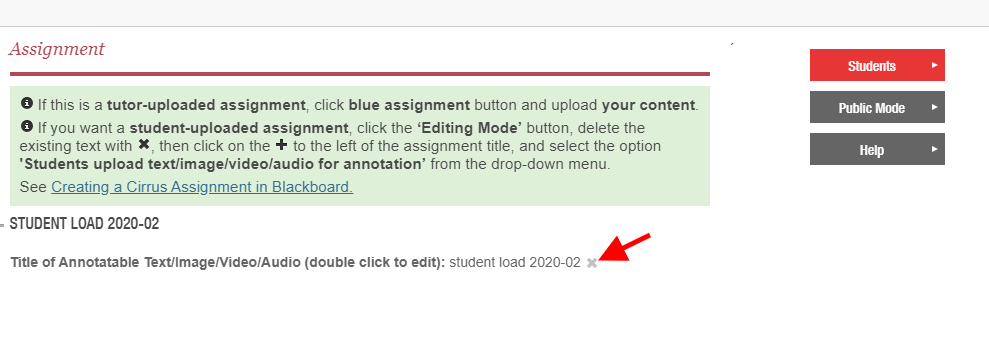
Put the page in Editing Mode, the button marked with a red square in the image above.
Then delete the existing title, shown by the arrow in the image below.
-
-
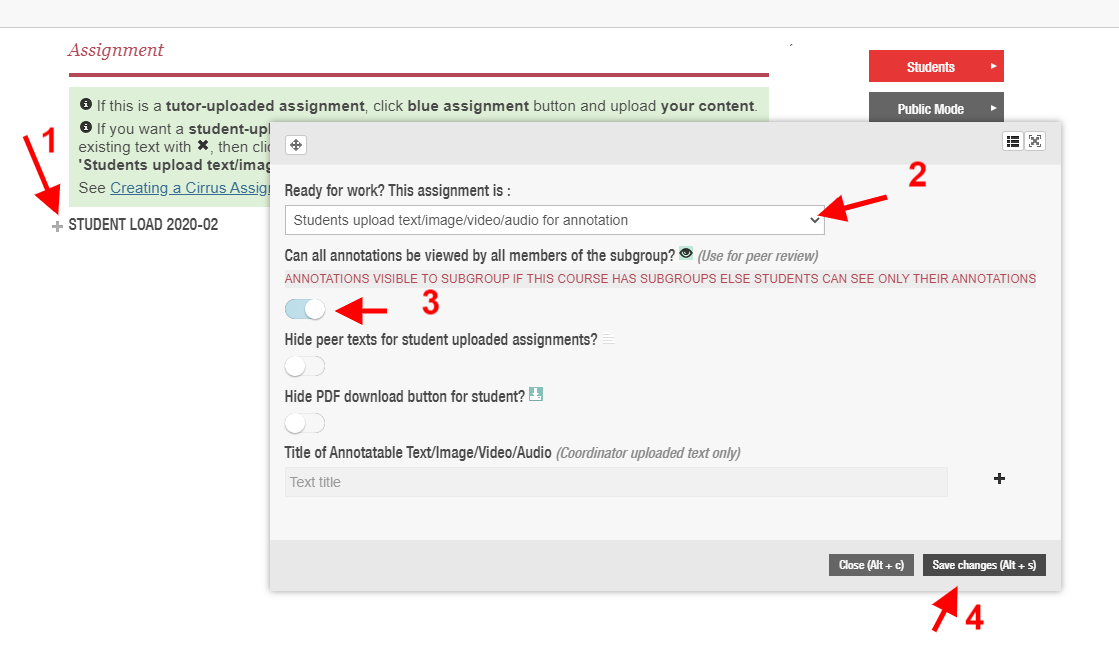
Click the plus sign to the left of the screen (arrow 1 in the image below), and select the option Students upload text/image/video/audio for annotation (arrow 2).
If the annotations are visible to their group / tutorial, please toggle the switch marked with arrow 3.
The hit Save changes (arrow 4).
-
-
Congratulations: your assessment task is ready for students.
-
For Cirrus site queries, contact Dr Catriona Mills (c.mills@uq.edu.au).
You might be interested in...
